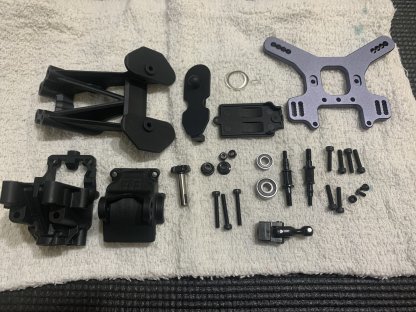
Bag D:
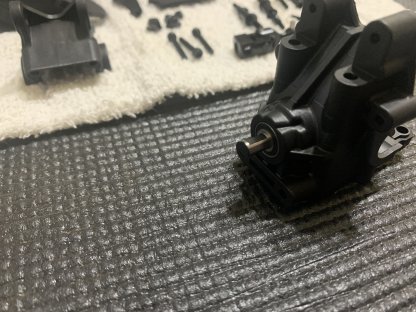
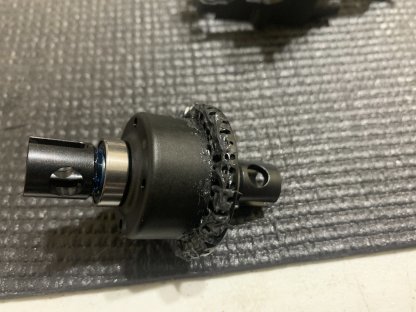
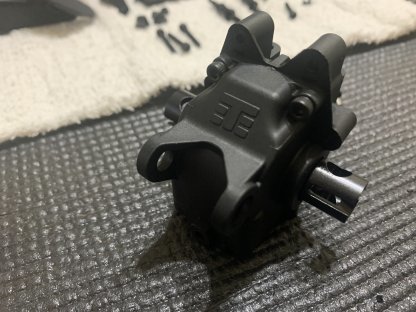
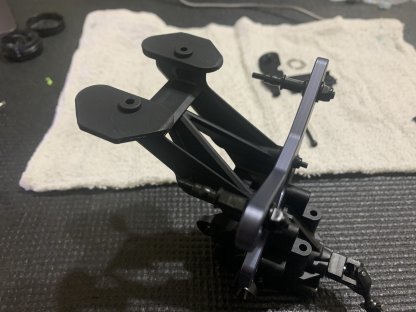
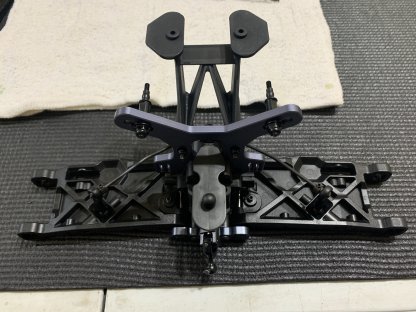
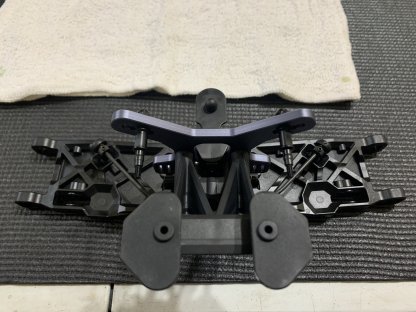
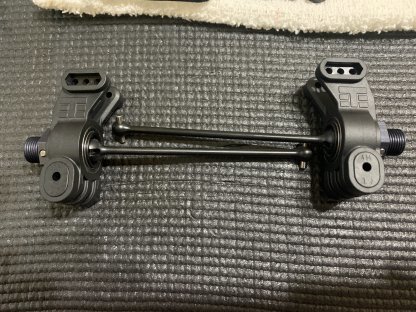
Bag D is the rear bulkhead, shock tower, and wing mount build on the new EB48 2.0. The only real difference is the new electric specific rear center universal.
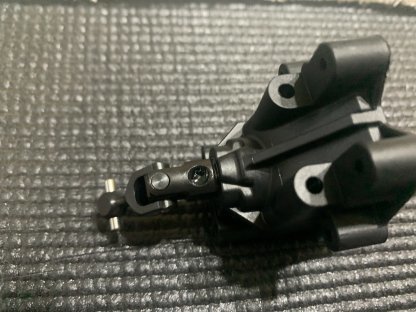
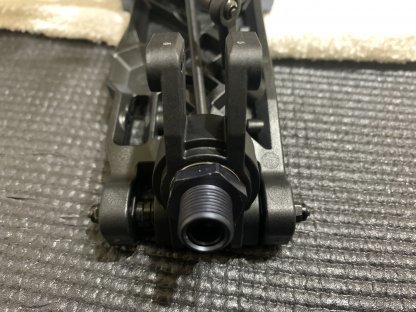
As talked about previously and seen below I like to fill the coupler with loctite before inserting the set screw so it gets a better bond. Make sure to clean out the excess with a towel or compressor.
Also use a bit of gear grease on the diff gear to insure longevity and reduced differential temperatures.
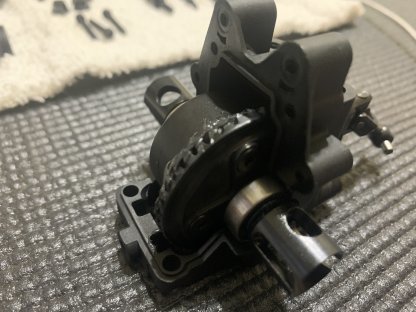
As with the front diff, I didn’t use any of the shims to get the correct mesh but always keep them with you just incase and make sure to check the mesh just to make sure everything fits properly when building it.

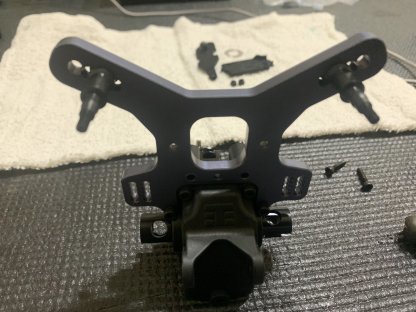
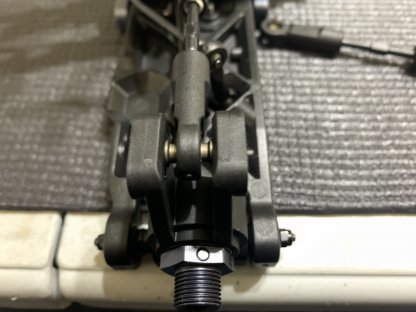
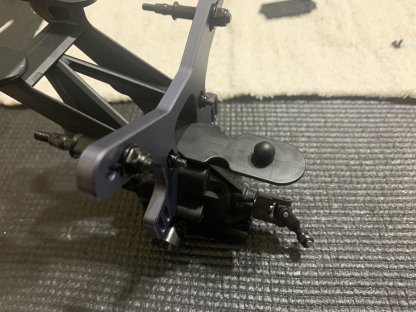
Little better look at the new wing mount. It moves the wing higher as well as closer to the rear tower.
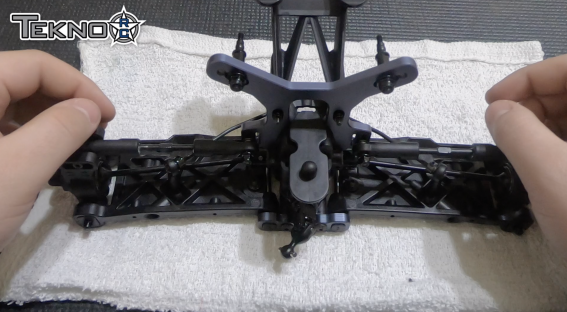
Bag E:
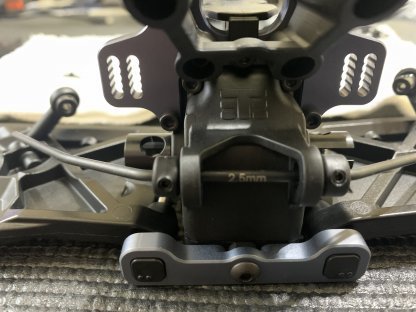
Bag E is the rear arms and sway bar mount for this kit. Leave your reamer in your box you won’t need it which is definitely a plus. The sway bar is a 2.5 included in the kit. If you find yourself looking for the C-D blocks remember they are in the bag with the other aluminum parts.
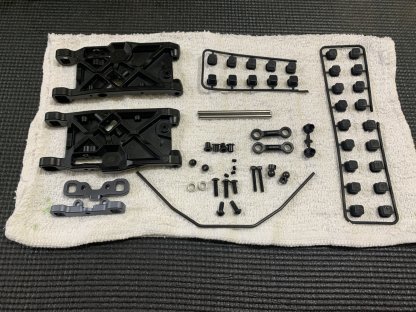
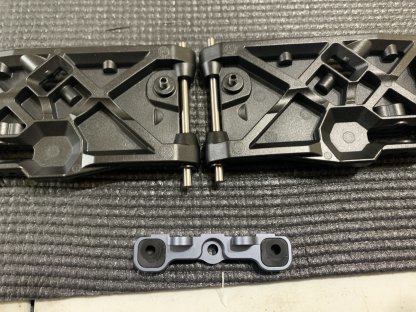
I deviated from the manual a bit on this step. The manual will tell you to install the sway bar parts first but I like to wait until after the arms are installed on the car so you have less freely moving parts to work with. Just some personal preference when building the kit so you have two different ways to do things.
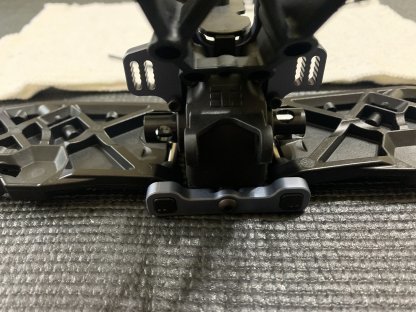
Make sure to get the sway bar as centered as possible, it’s important for a free moving suspension.
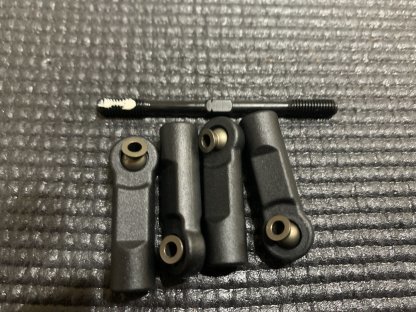
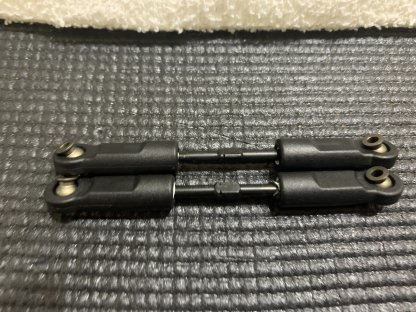
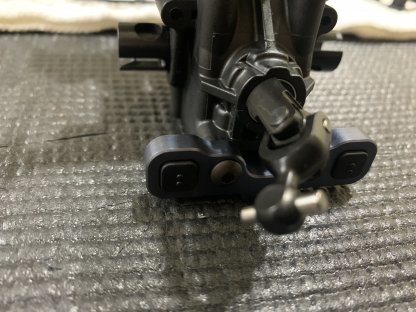
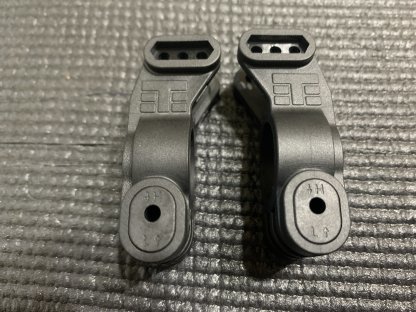
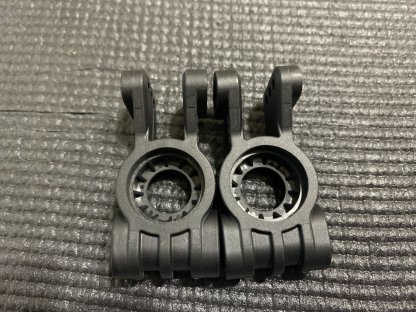
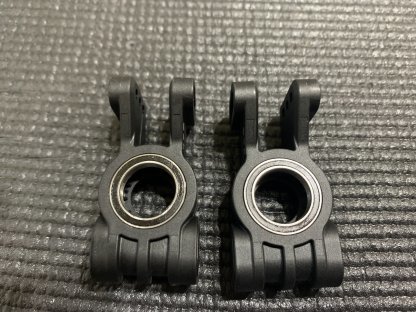
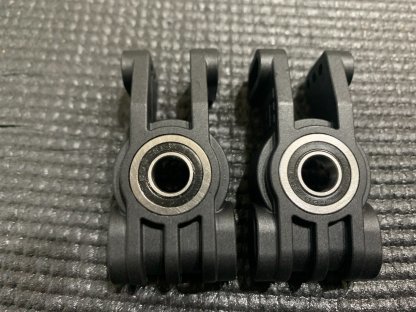
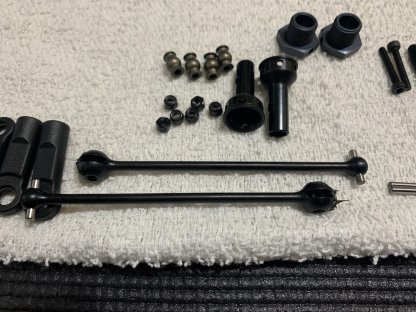
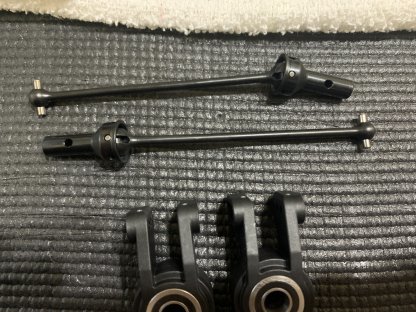
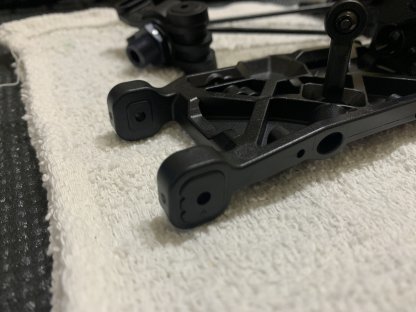
Bag F is up next which is the most intricate step so far. We have the outer arm inserts which allow for static and active to adjustments, the hub inserts which give the option to raise or lower the hub, as well as the driveshafts and rear turnbuckles.

I prefer to use a tiny bit of grease on the CVD’s to reduce wear. Don’t use too much though as you don’t want it to attract dirt.
The set screws below these arm inserts are really important. Don’t over tighten them as they will cause bind in the outer hinge pins.
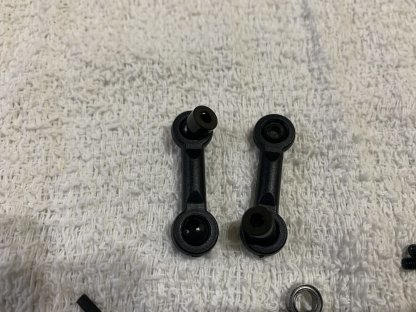
I prefer to use a little bit of white grease or even chapstick on the turnbuckles before installing the rod ends.