Bag A:
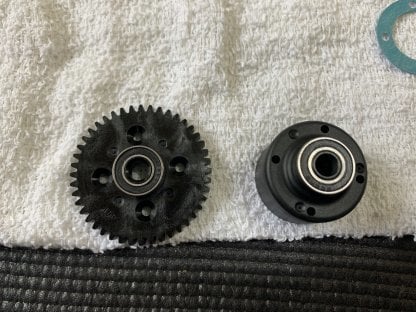
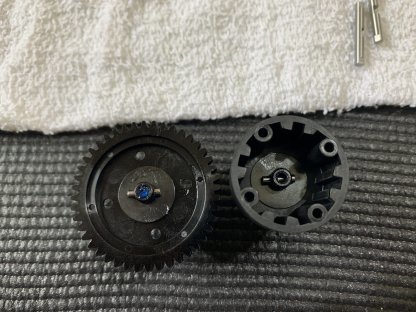
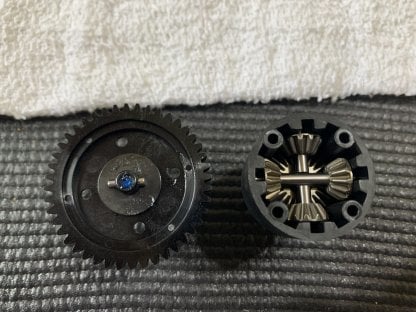
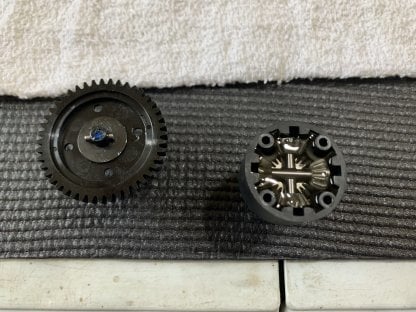
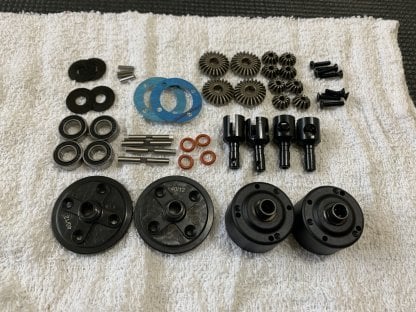
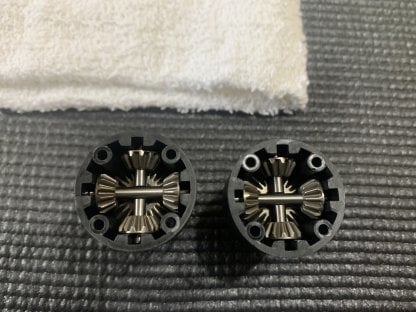
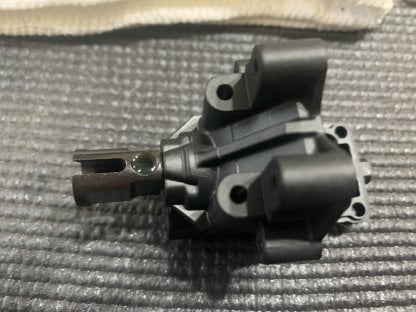
Bag A is the center differential build on the EB48 2.0. This center diff is very similar to what is found on the nitro car but it doesn’t utilize the bearing mounted outdrives. Electric racing doesn’t seem to generate the heat in a 10 minute main that nitro mains generate so it makes more sense to keep parts consistent for all three diffs.

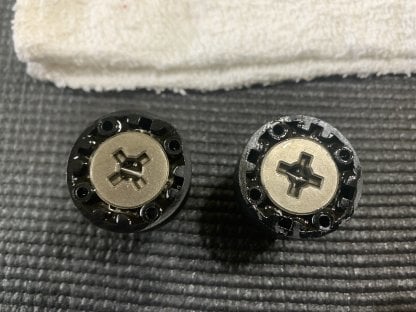
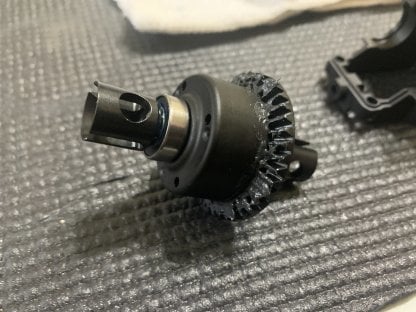
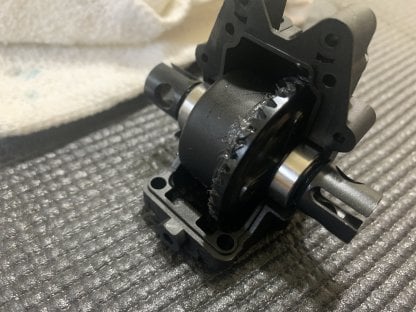
Make sure to use grease on the diff o-rings and outdrives. Also allow the diff fluid to settle before you close it up to get rid of bubbles and make sure the fluid level is correct. Don’t fill the diff up above the upper crown gear.
Make sure to use the washers on either side, they are not optional and will cause bind if you do not use them.
Don’t fill the diff up above the upper crown gear. Over-filling the differential can create inconsistencies.
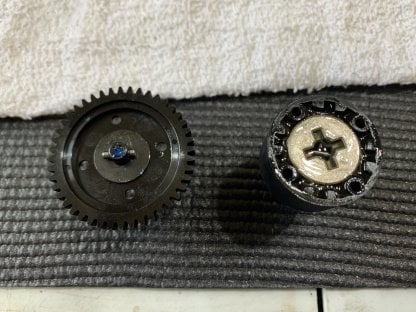
The Ebuggy includes a new composite 44t spur gear to fit the new and updated internal gears and increased volume diff cup.
Bag B:
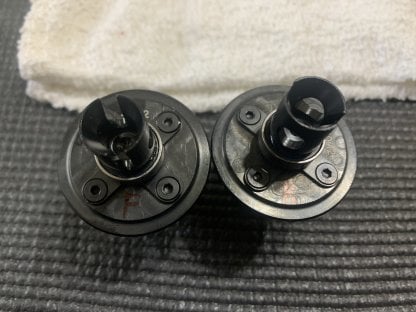
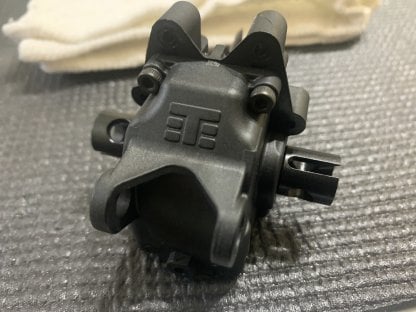
Bag B is the front and rear differential. These builds are exactly the same as the nitro version minus differential fluids. The Ebuggy kit calls for 10/10/7 fluids. As we talked about before these diffs stay more consistent through out runs and I have personally been really happy with them since the introduction of the nitro car.
As with Bag A, make sure to use grease on the o-rings and outdrives, check the fluid levels, and don’t over fill the differentials.
Wipe off any excess grease that you have left to insure it doesn’t get flung everywhere while you’re driving.

These diffs are pretty darkly colored but you can still mark them with a black sharpie to make sure you know which is which as shown below.
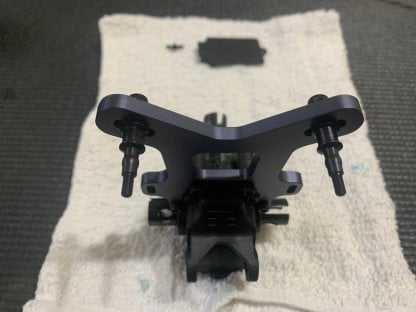
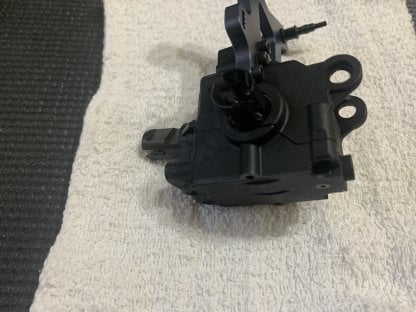
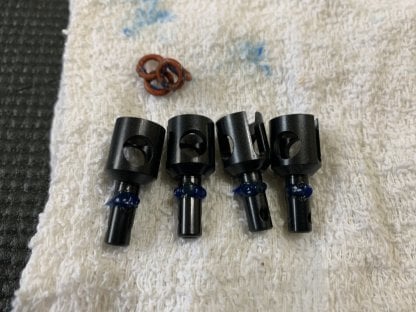
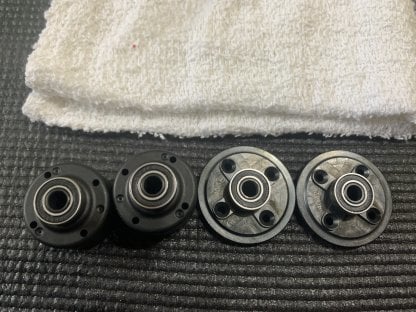
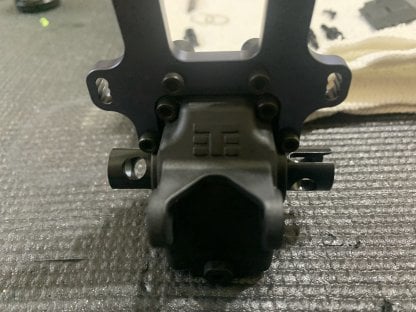
Time to build the front bulkhead. This is extremely similar to the nitro kit except that the kit includes a coupler for a center dog bone which is the only option for the Ebuggy kit at this time. This kit utilizes the same quick change bulkheads that the nitro does which just makes it easier to get the diffs out to change fluids or do maintenance. The aluminum parts such as the shock towers and ABCD blocks are in their own bag so if you can’t find your front tower please don’t fret, it’s just in another bag.
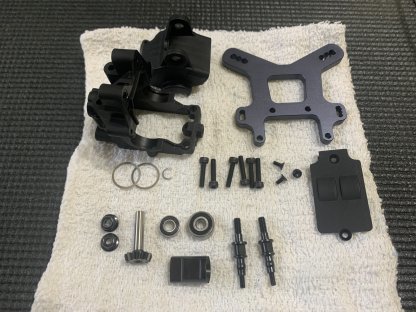

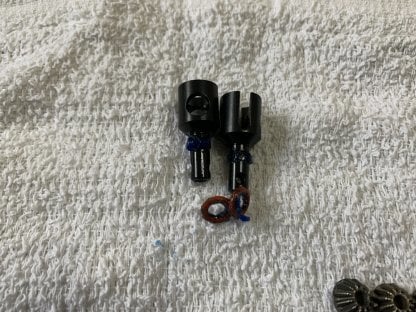
I like to fill the coupler with blue loctite and then once the set screw is installed wipe away all the excess. It insures a better bond between the coupler and the pinion gear.
I also recommend using some sort of gear grease on the front and rear diffs to reduce wear and ultimately heat.
The kit includes 2 shims to get the mesh set right. I have never used any of them but keep them around just in case you do need them in the future.
The kit also includes the new standoffs which were just an option for the .4 kits. These standoffs use a molded insert for the shock cap which increase the life span of the shock caps.