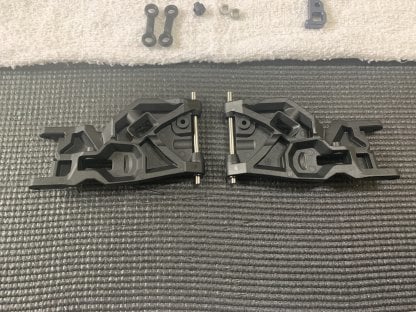
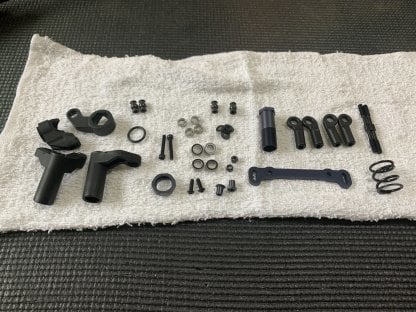
Bag G:
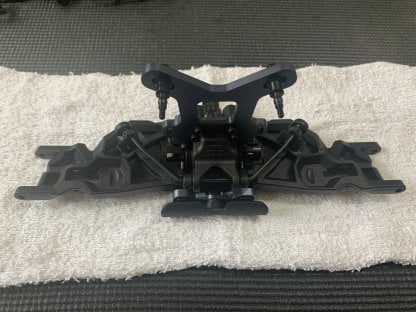
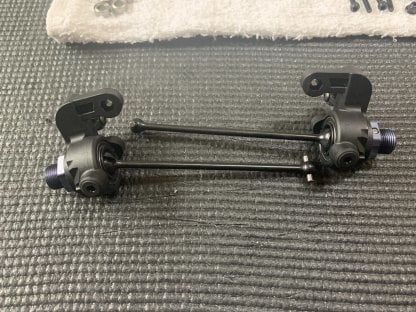
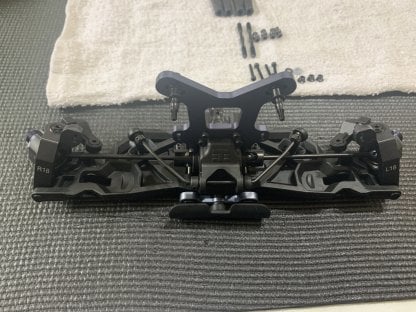
Bag G is the installation of the front arms and sway bar assembly. The arms have caster built in to make for a stronger caster block with less breakage. Again a little bit of deviation from the manual on this step as I like to build the arms and attach them before I install the sway bar parts.
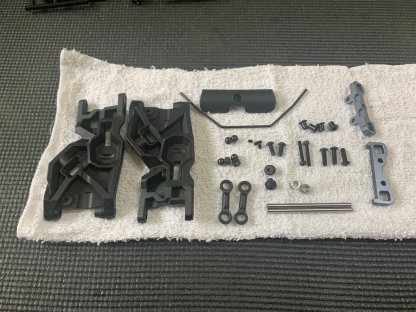
Check the aluminum parts bag if you can’t find the A and B blocks.
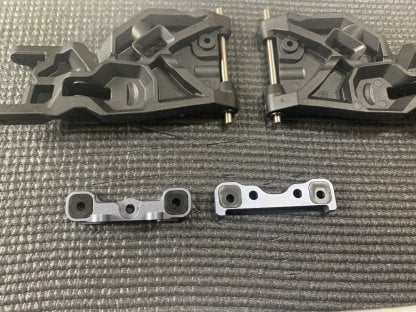
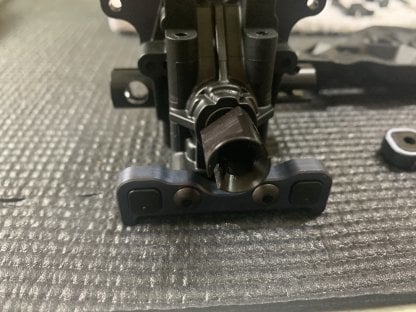
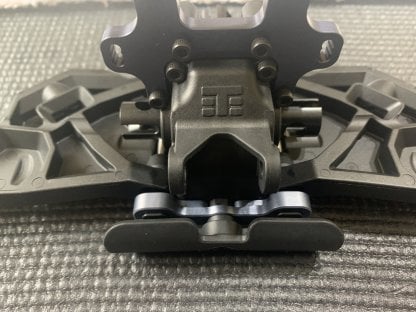
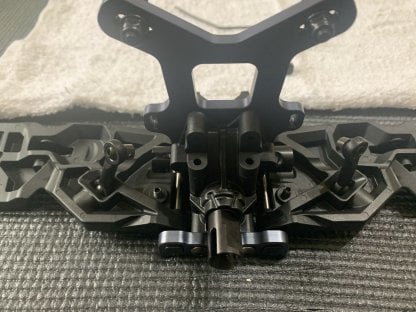
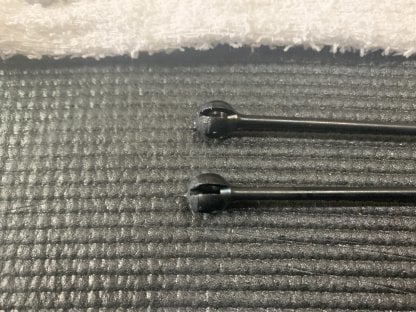
Make sure the outer sway bar links are locked into place with the sway bar just touching the outside edge of the link.
Bag H:
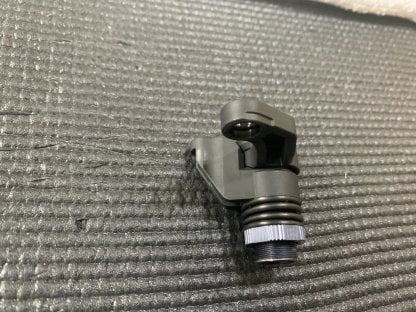
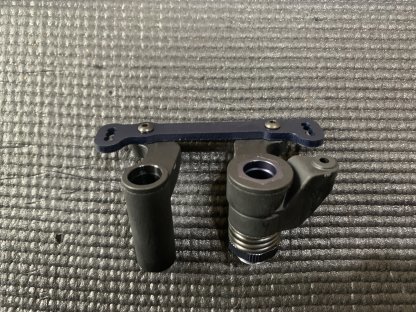
Bag H is where we build the caster blocks, cvd’s and the rest of the front clip. Sweet looking aluminum caster block and robust spindles are included along with new to the 2.0 line more durable cvd’s and accessories.

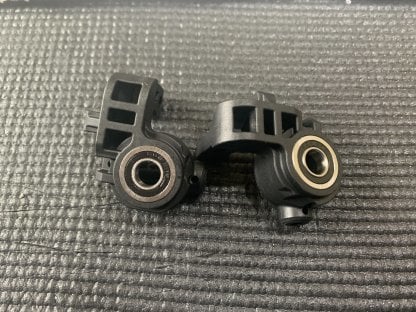
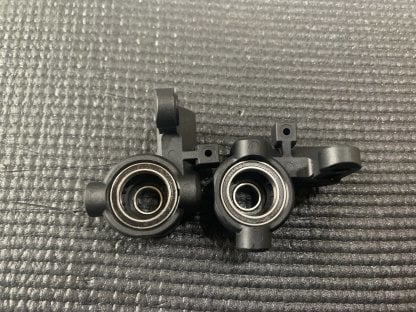
Use a bit of grease on the cvd’s as you did in the rear to improve longevity, but not too much to make sure it doesn’t attract dirt.
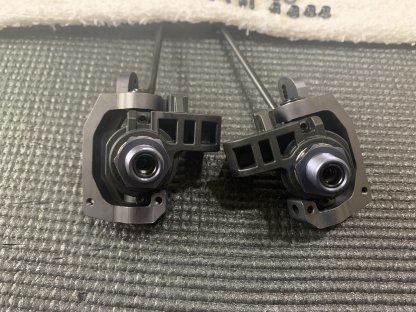
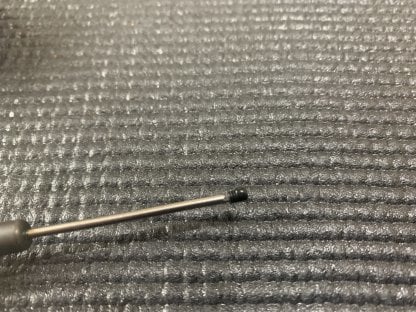
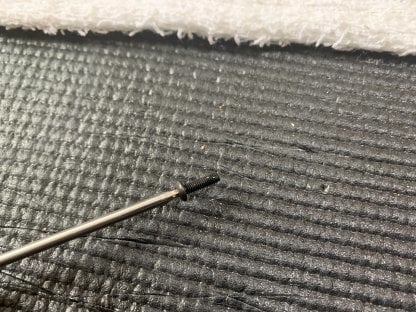
Make sure to use a dab of loctite on the set screws that attach the arms to the caster blocks.
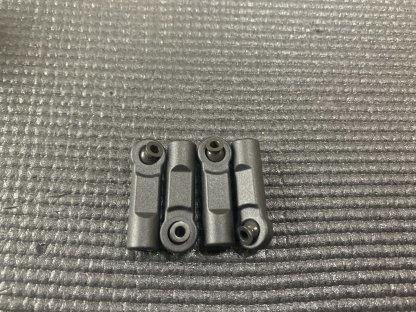
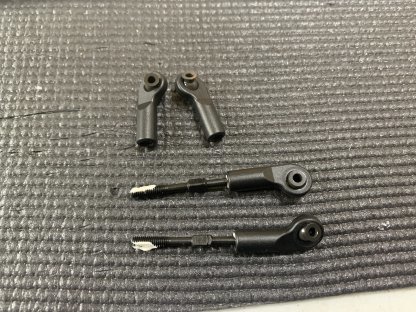
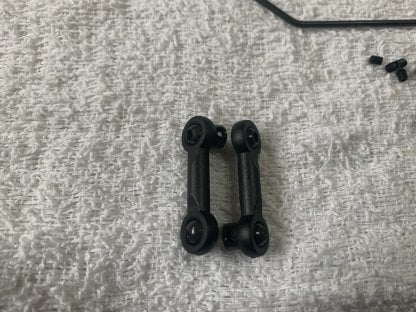
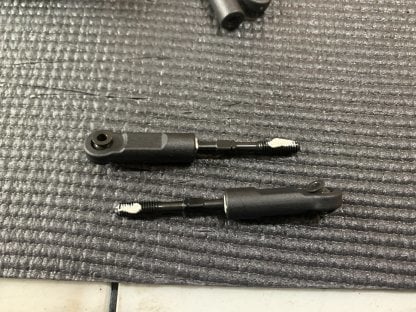
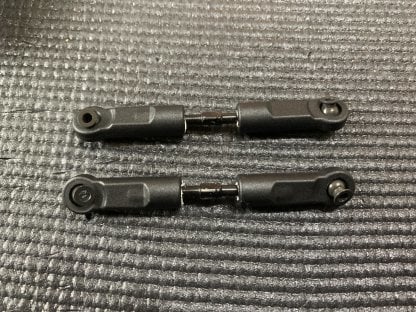
Again a little bit of white grease or chap stick will help with turnbuckle installation.

Bag I is where we build the steering rack for the EB48 2.0. The steering plate is interchangeable so keep that in mind. Pretty sweet design, super free from the box.
As the manual says, use a 17mm tire wrench to tighten the servo saver. Fully lock it down then go too full turns back from that.
Use a little loctite on the screws that hold the steering plate on.
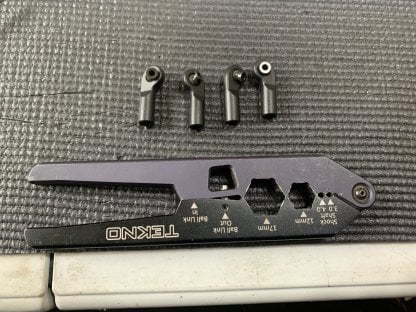
This part is a good little plug for the Tekno multi-tool, this thing is super handy for shock builds and putting together turnbuckles.
Once again, a little bit of white grease or chapstick for putting together the turnbuckles and bam pretty much done with this step.