
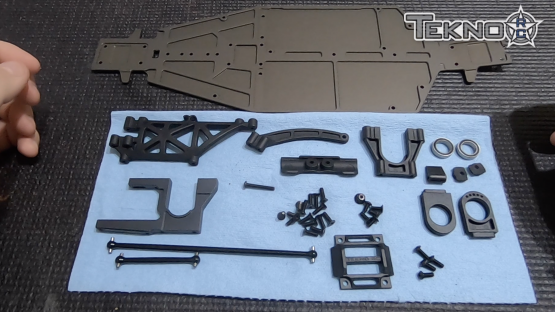
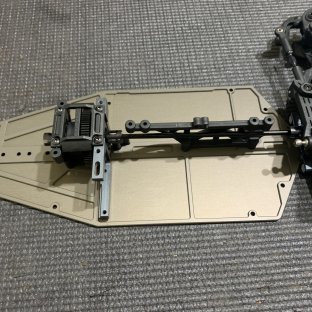
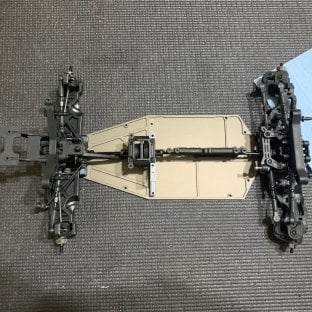
Bag J:
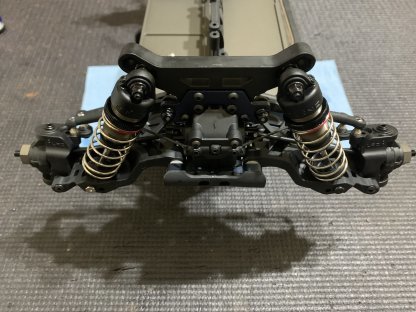
Bag J is where we finally attach all the hard work to the chassis. The front and rear clips plus the center diff are all attached.
Make sure to loosen your A block screws to make it easier to get the front end to sit properly on the chassis. The screws that go on the bottom of the chassis closest to the A block are also shorter than the rest make sure to pay attention to that when reading the manual.
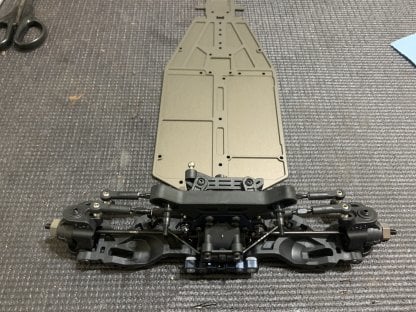
Please remember loctite in the lower engine mount screws, it is really important to insure that you don’t have issues with the motor moving or stripping the spur gear.

Bag K:
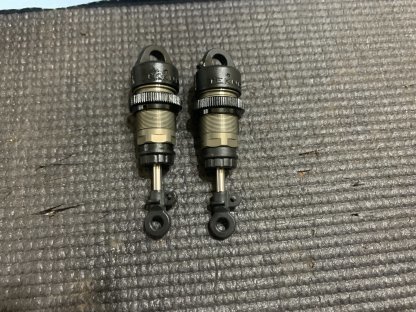
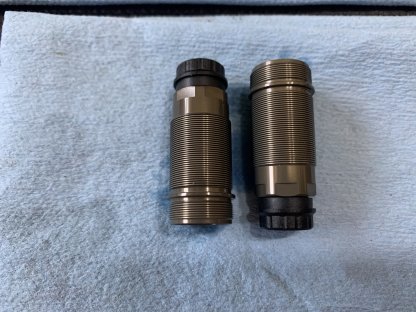
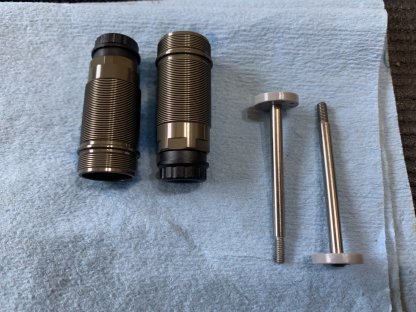
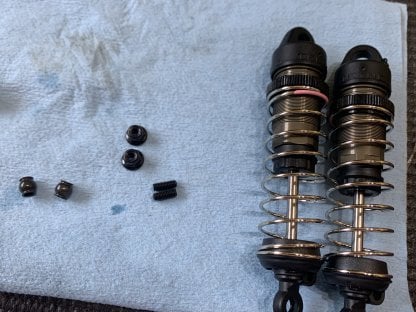
Bag K takes on the front shock build for the kit. Notable differences are the red front springs, revised shock inserts, 8 hole pistons, and updated shock stand-off bushings all of which come stock on the new kit.
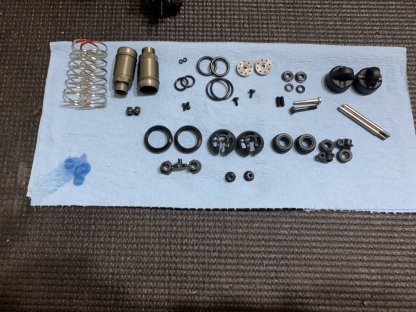
Make sure to lube the shock o-rings with shock oil or some sort of o-ring grease before you install them.
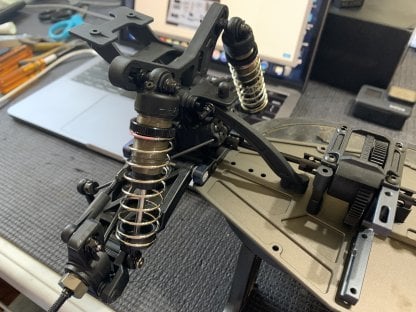
Pay attention to your shock length, for the front it should be 23mm from the shock end to the lower shock cap.
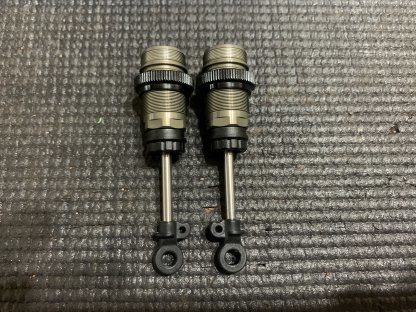
Be very careful and methodical when installing the shock caps. They are plastic and it is important to get them threaded correctly. When I build my shocks I put the cap all the way on and push the shaft all the way up then insert the screw. Then I pump them 10 times, take the screw out, push the shaft up to the top again, and then put the screw back on.
Maybe it’s just me but I think the materials and material colors on our kits are super aesthetically pleasing.
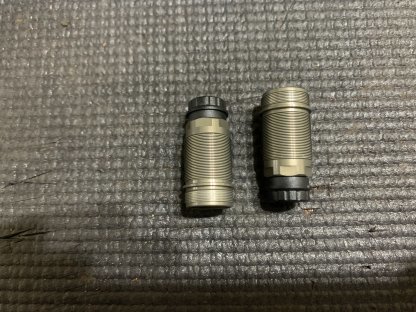
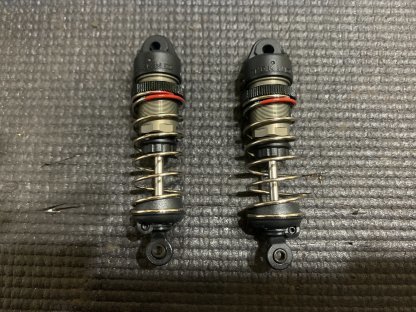
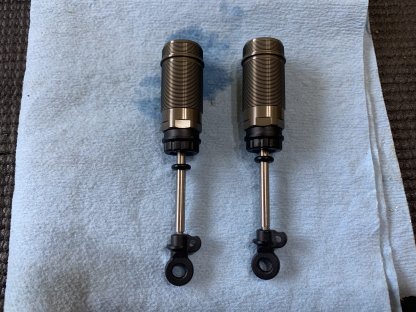
Bag L is the rear shock build. This features everything I previously talked about with the front shock build plus some new external limiters. We have been running external limiters in the form of o-rings for a while now but now there is a dedicated limiter.
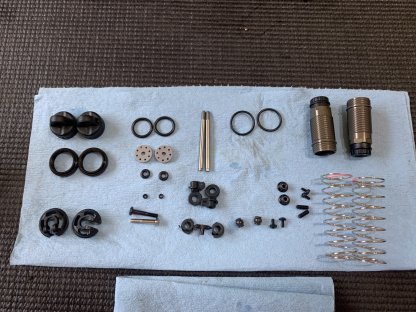
Remember again to lube the o-rings with shock oil or something similar.
Just just a bit of loctite on the screw going into the piston.
Here you can see the external limiters. The shock length should be checked here also and should be 29mm from lower cap to shock rod end.
Shocks successfully installed on the front of the tower with no clearance issues.