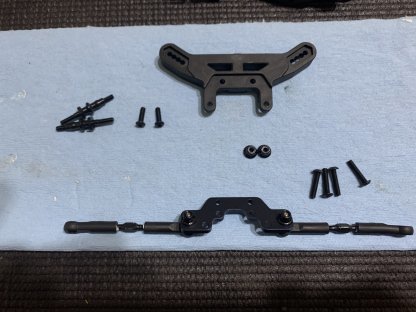
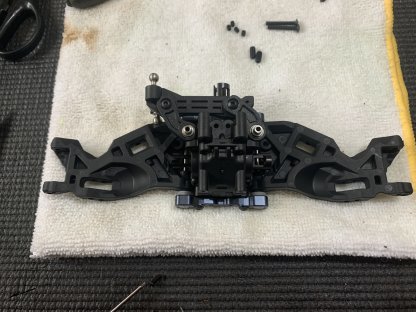
Bag G:
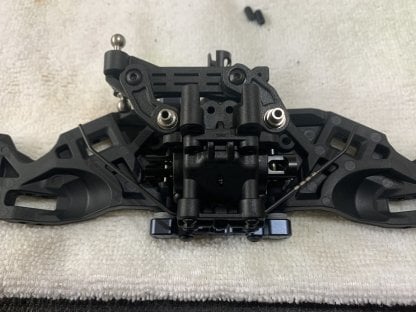
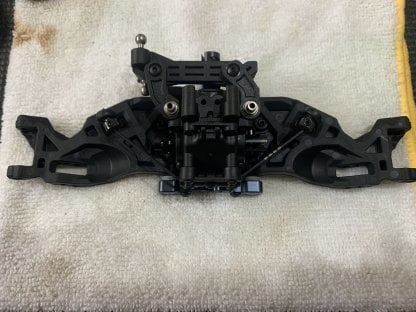
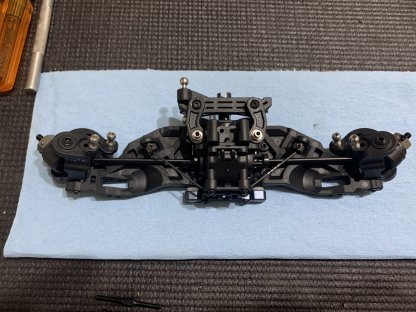
Bag G is the front arms, A and B blocks and the now included sway bar mount for the front end. The arms are different, they are now able to be used with 3.5mm hinge pins. Obviously now they use the grey wheel base shims and arm inserts which work with the new hinge pins.
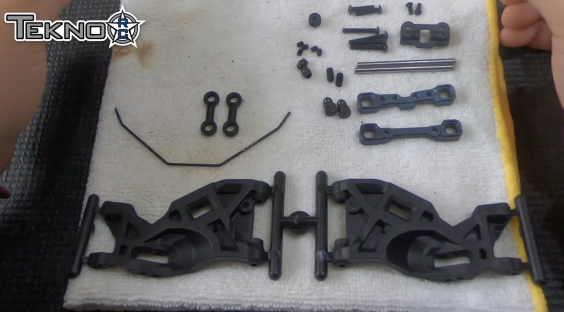
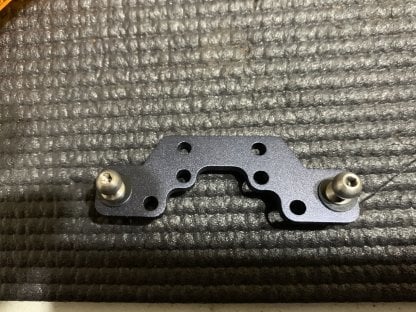
The new car comes with what would be considered on the old car as the “revised A and B blocks” which key into the chassis but these are further revised to be beefier and last longer.. This stops the chassis from cracking and these parts come standard in the new kits. Make sure not to tighten the A block on all the way as you will have to back it off to make it fit on the chassis.

The front sway bar kit was extremely popular so instead of having it as an option, it is now standard and included in the kit. I tried to explain this in the video but as you can see in the photo below the 4 short markings on the way bar indicate a 1.4mm sway bar. The long marking on the rear sway bar is .5 and the short ones are .1 so the rear sway bar is a 1.7mm bar.
Bag H:
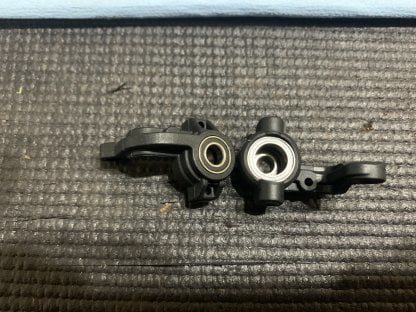
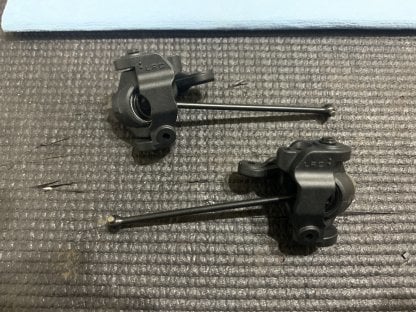
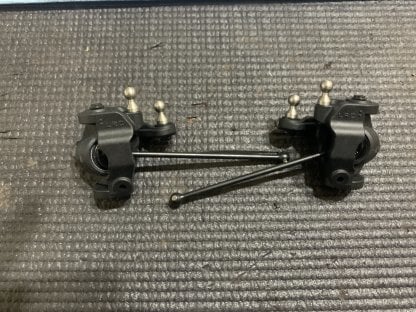
Bag H has the new LRC front caster blocks, front spindles, new driveshafts, and tall ball studs. The LRC caster blocks lower the spindle which will make the car have more grip from the front end in most conditions. As I explained in the video, on really high grip situations the HRC (original caster blocks) would probably be preferred and easier to drive. The new taller ball studs keep the same suspension geometry even know the spindle is now lower.
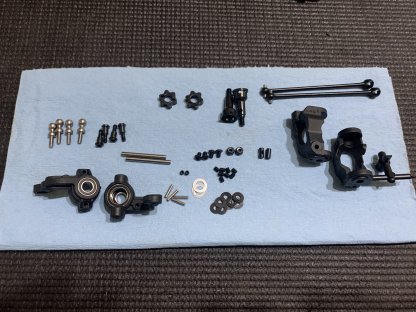
Make sure to use some sort of multi-purpose grease on the driveshafts and axles. I used TKR1654X hexes on the front and the rear as they are +1mm hexes and they work with Associated offset wheels.

Remember to pre-thread the spindles to make sure that the king pin screws go in straight.
Bag I has the front steering links, the new shock standoffs which are much improved, and the new front camber block which covers the upper part of the front bulkhead.
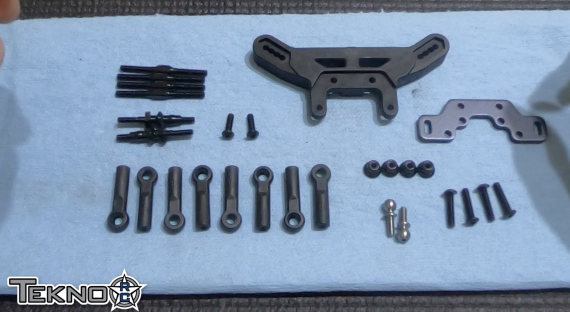
I like to use a white grease on the steering links to make them easier to adjust. I also put some an extra shim on each ball stud just like what was found on the rear ball studs. This isn’t required I just think it helps spread the impact a bit when you crash.
I also explained this in the video but I really appreciate the use of flanged nuts front and rear. It does cost Tekno a little more but they are awesome.