Bag M:
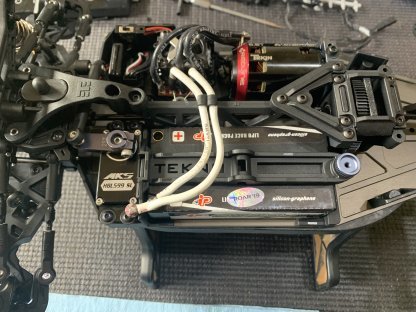
Bag M, time to install the electronics. Thank you to Tekin and MKS for the support.
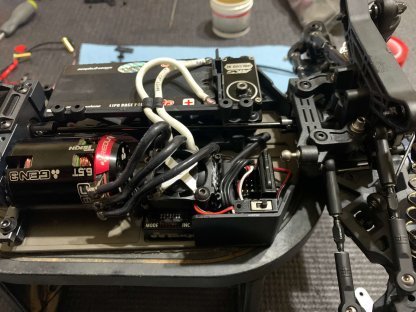
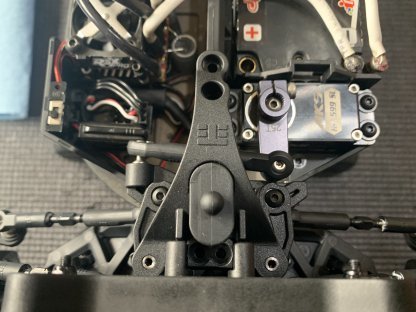
Move the servo back as far as you can against the battery holder.
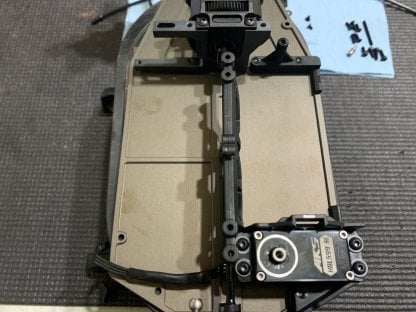
Setting this car up for mod, I like to install the motor sideways on all my EB410’s so I can run the wires down the side.
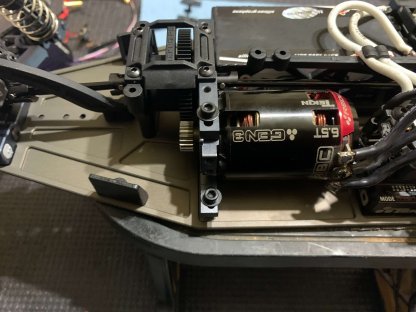
My shorty servo has a low top bevel so you have to mount the servo horn the opposite direction from what the manual says. Just check your servo height and mount the servo horn the straightest you can. I did choose to use a Tekno aluminum horn.
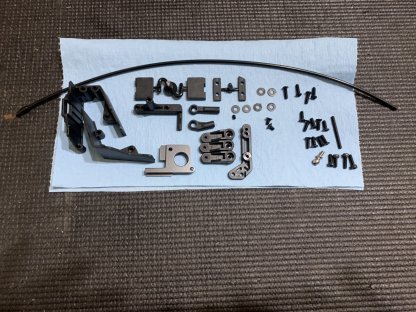
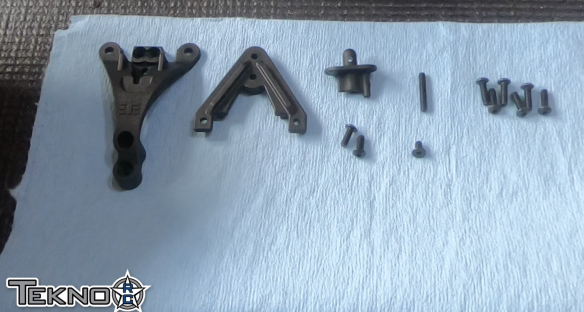
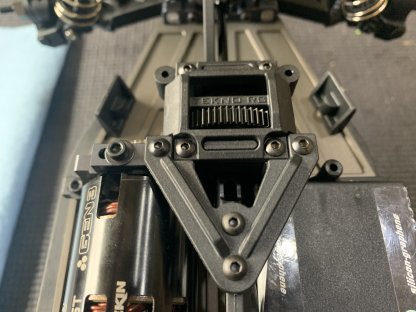
Bag N:
Bag N is where the top plates are attached. Almost completely done at this point.
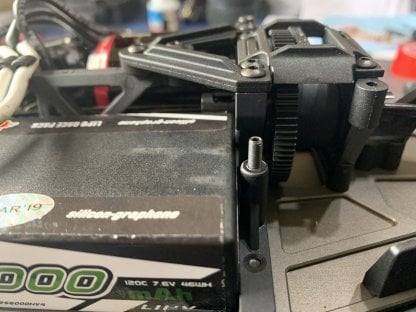
Make sure to use the shorter included screws on the motor mount, easy to miss that step.
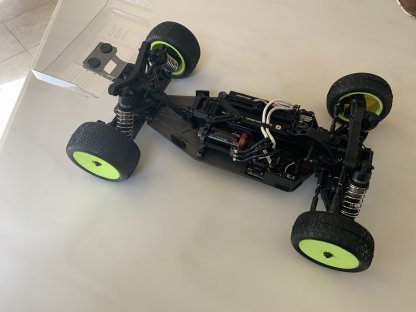
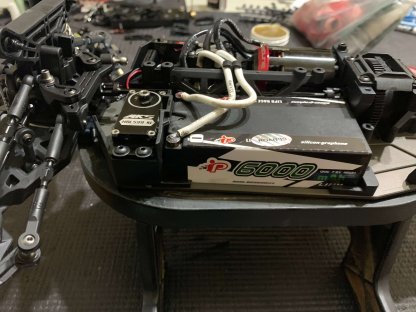
Bag O is the completion of the build, big thank you to everyone for following along. Definitely had a great time with this one. The wing, wheels, tires, and battery holder are now installed.
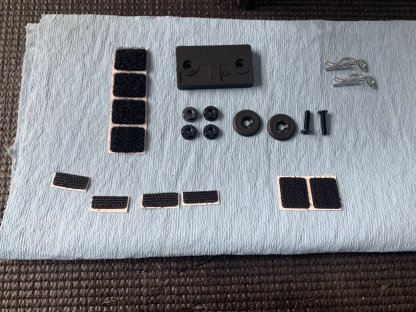
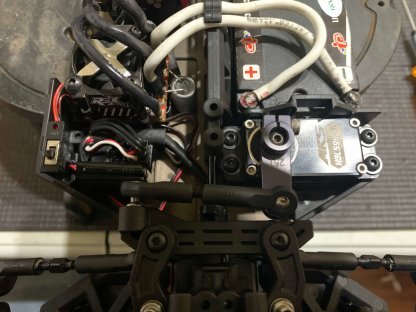
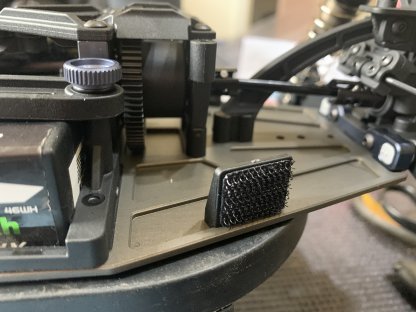
I cut the two front velcro pieces in half so that I could get more coverage.

The wing is mounted all the way forward.
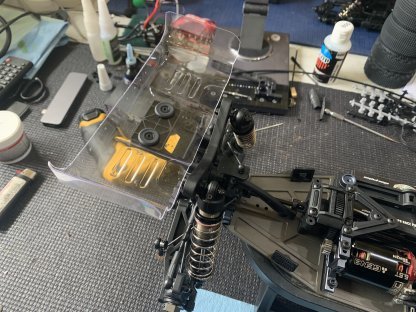
All done with this thing, thank you guys for following along!