
ET48 2.0 Build (Bag N-P)
Follow along as we give some insight on how to build the new ET48 2.0 kit with both photos and videos from Tyler Hooks. This article focuses on Bags N-P.
The ET48 2.0 kits are starting to ship so here is a little guide to building your own.
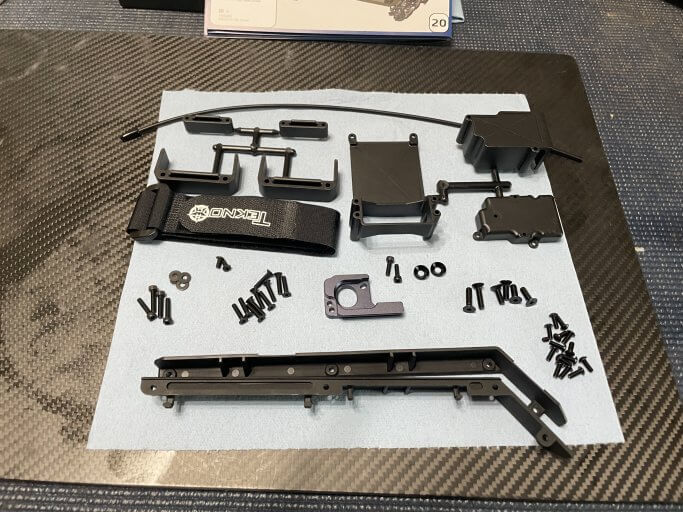
Bag N
Bag N is the complete electronics installation, just forewarning, depending on the servo you use you might need a servo extension for your servo. Other than that the wiring is pretty straight forward.
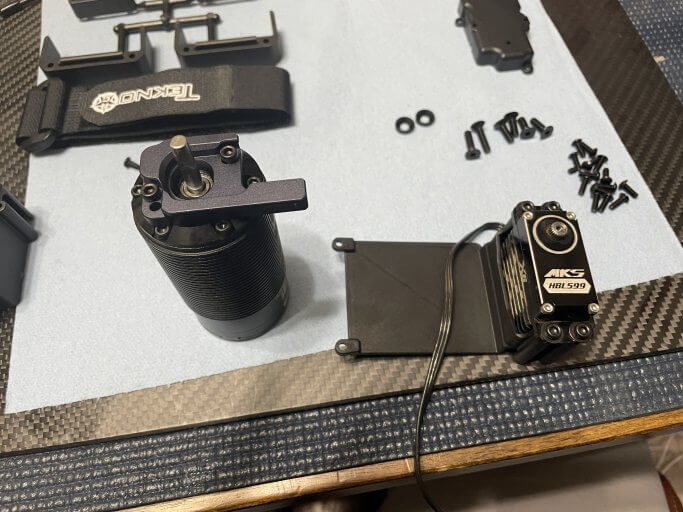
Use loctite to attach the motor to the mount, and the mount to the center diff assembly.
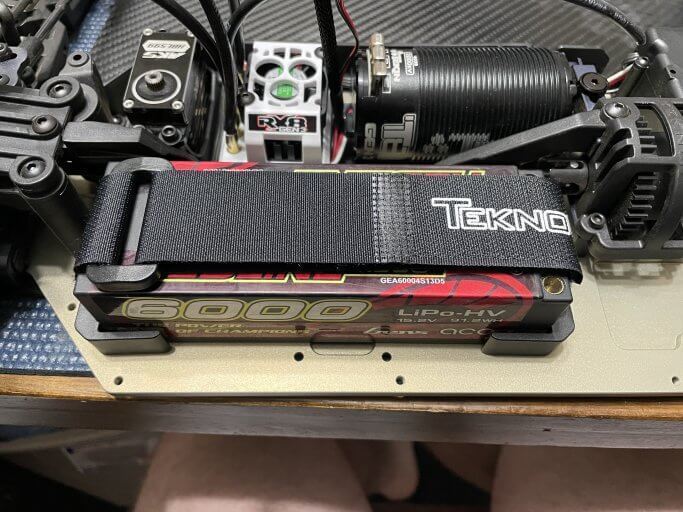
I always put my battery leads towards the rear of the car to prevent hard impacts right on the internal connections.
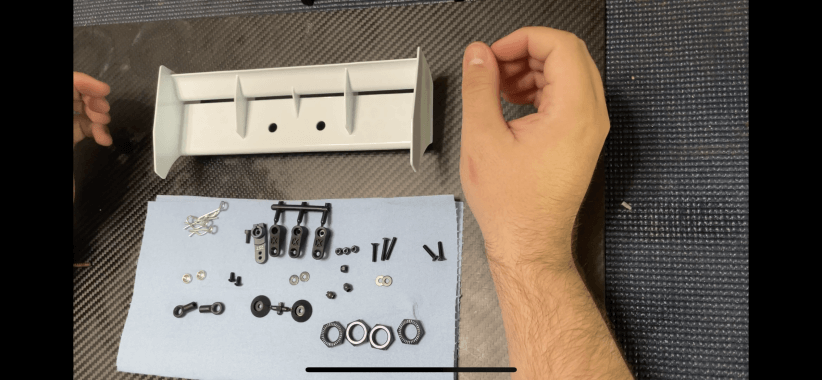
Bag O-P:
I didn’t really show any of the steps for this because it is all super straight forward, make sure there is a millimeter gap between the rod ends on the steering link, and I personally use an aluminum servo horn but that is pretty much it. Button up the build and go rip!
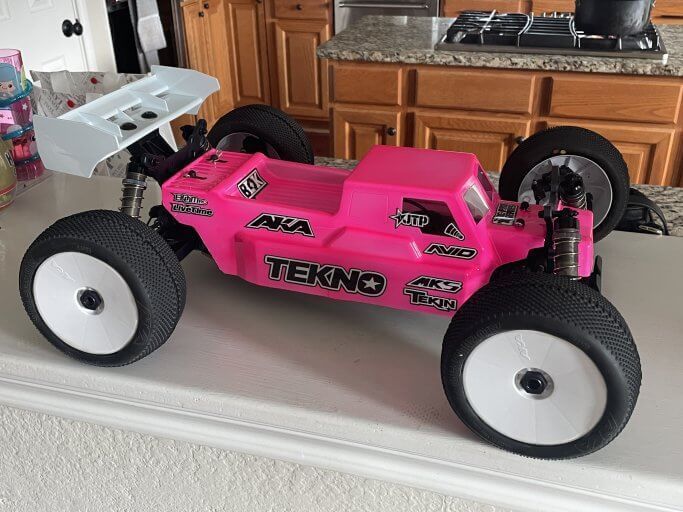
Thank you for watching and reading, we hope you enjoyed the build and love your new ET48 2.0!