ET48 2.0 Build (Bag G-I)
Follow along as we give some insight on how to build the new ET48 2.0 kit with both photos and videos from Tyler Hooks. This article focuses on Bags G-I.
The ET48 2.0 kits are starting to ship so here is a little guide to building your own.
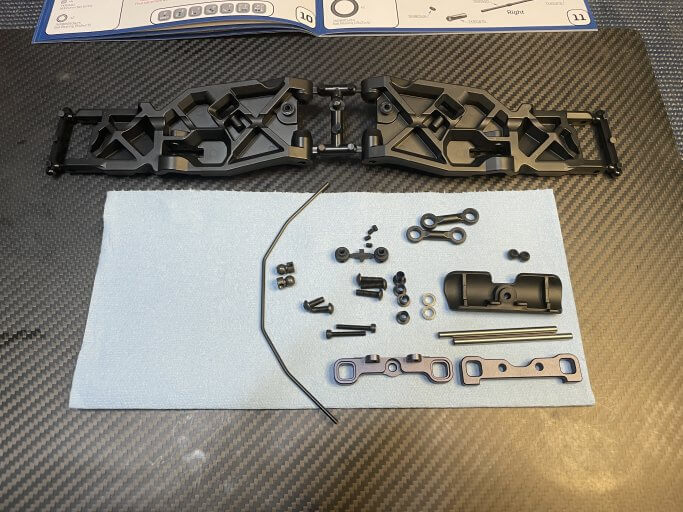
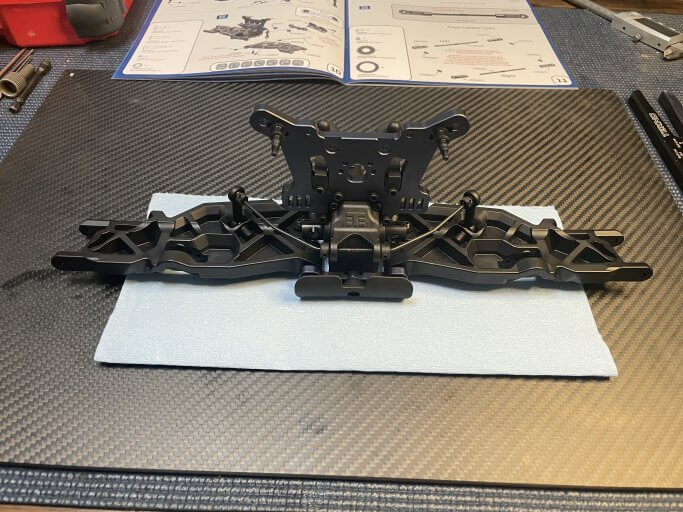
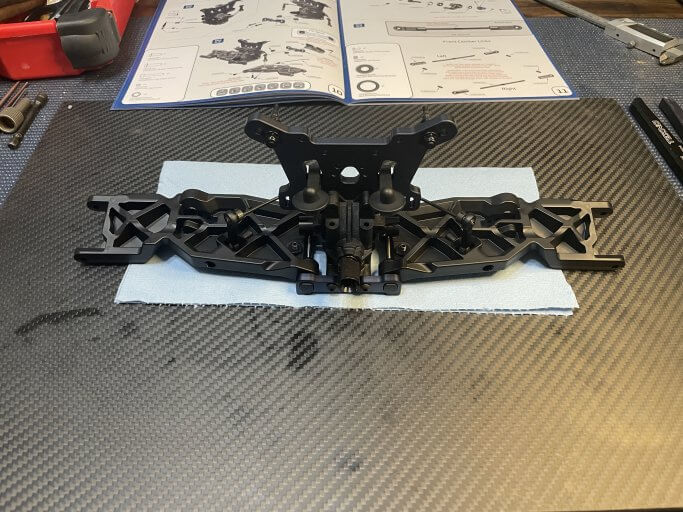
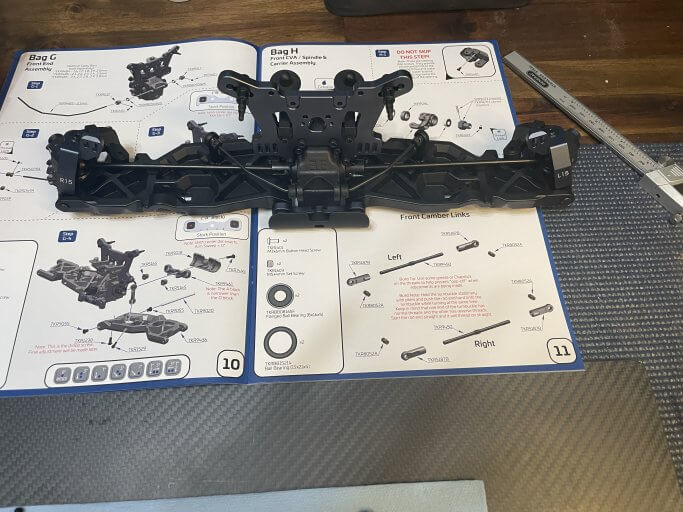
Bag G
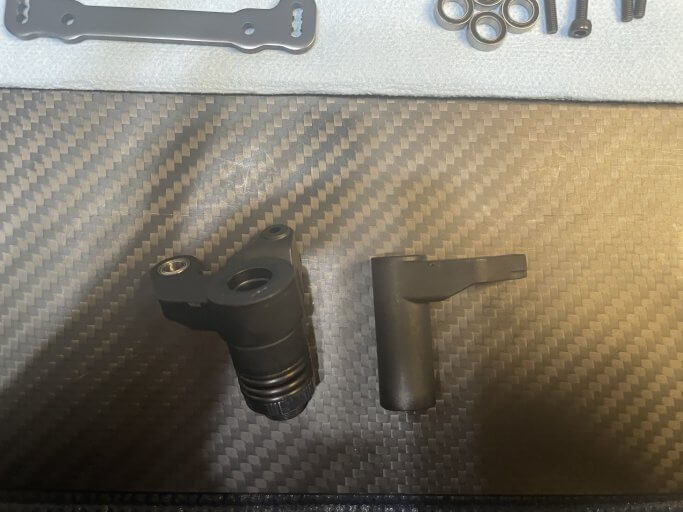
Bag G means it is time to put the front arms and sway bar on the truck. The arms have built in caster just like the buggies putting less stress on the caster blocks.
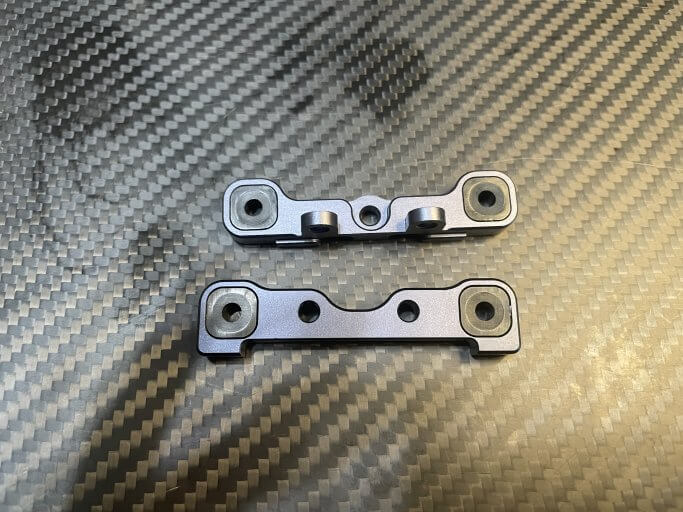
Arm inserts all installed and ready to go.
The holes are super tight on this step, just keep going I promise they will thread all the way in
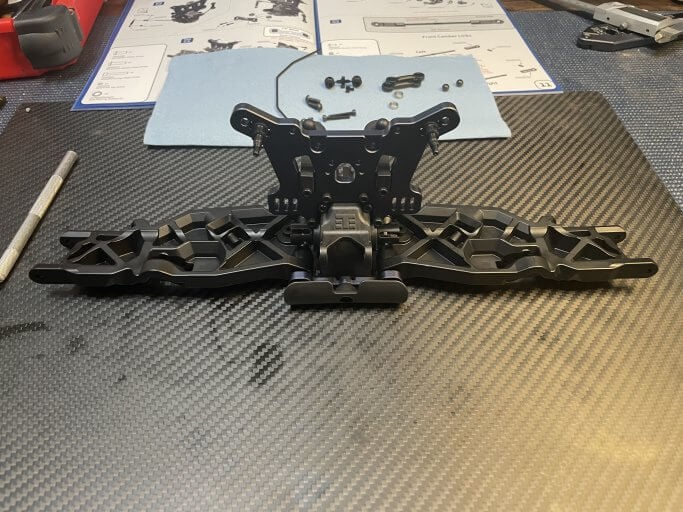
If I had extras I would install aluminum sway bar inserts here but I ran out while building this one. Buy them here.
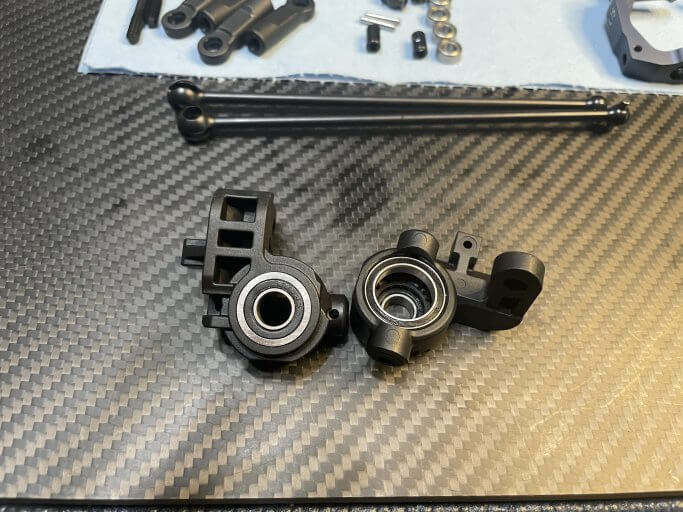
Bag H:
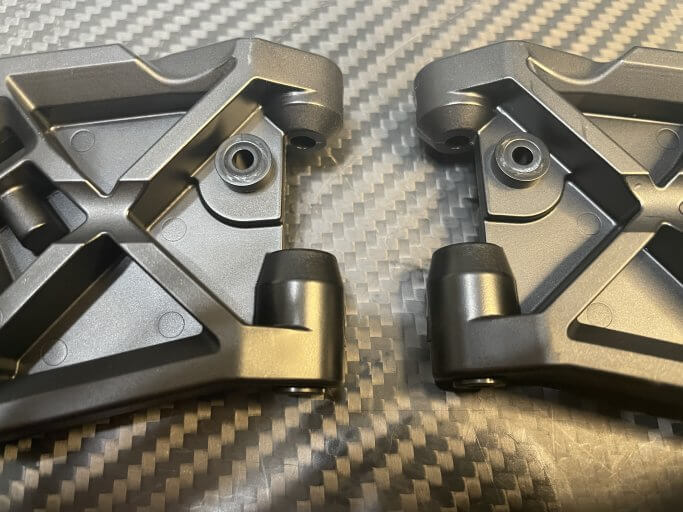
Let’s finish up the front end of the car with CVD’s, camber links, and the like.
I used just a bit of copper grease on the inside of the cvd, I don’t want to attract any dust so I wiped away all the excess.
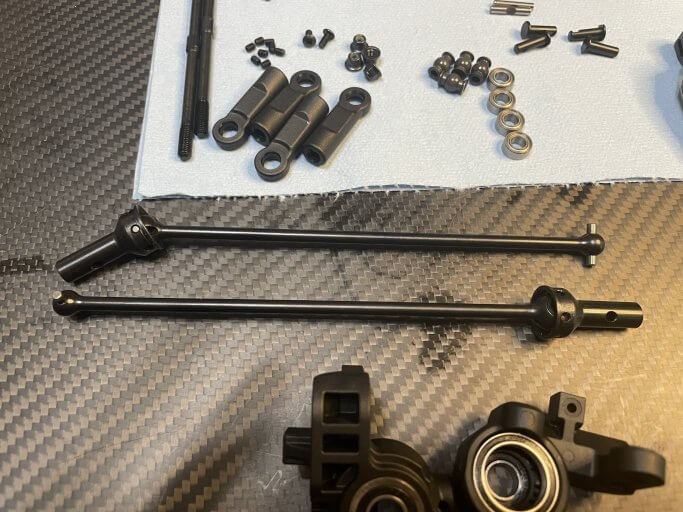
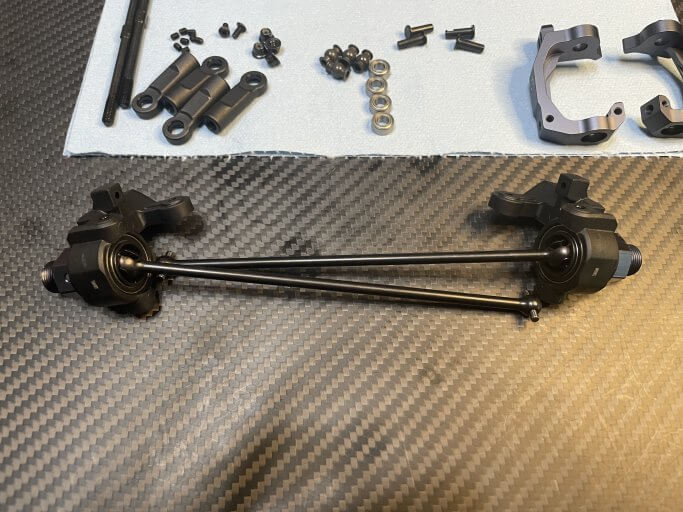
Thread both sides of the spindle before you screw them all the way in, this insures that the spindle doesn’t strip.

I use a little bit of loctite on the set screws for the caster blocks where they go into the arms but just a tiny bit.
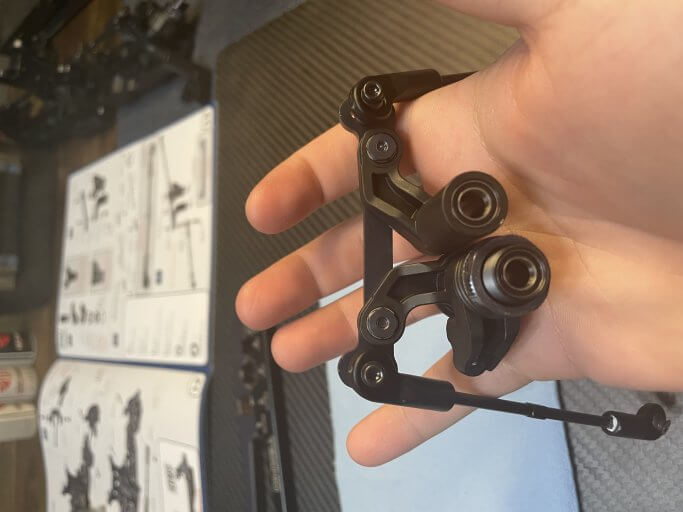
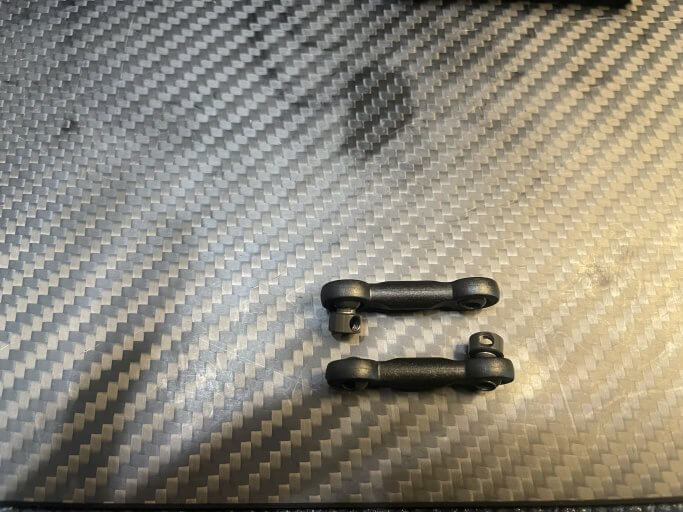
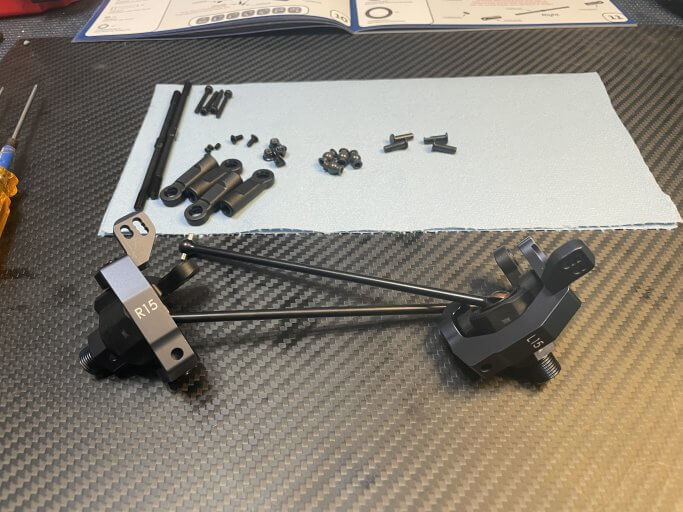
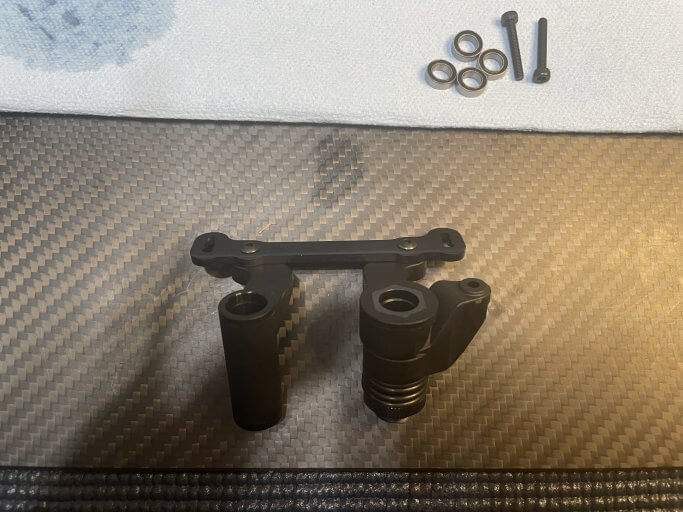
Bag I:
Time to build a steering rack, the Tekno one is super straight forward. I recommend using a 17mm wheel nut wrench to install the servo saver nut.
Use a little blue loctite on the rack screws.
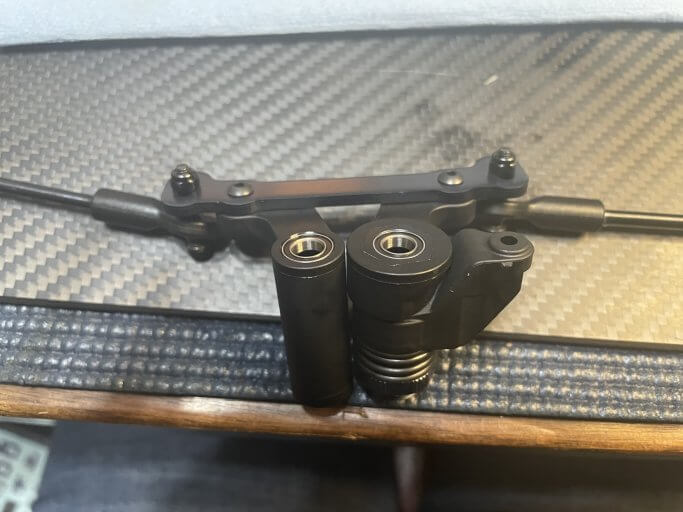
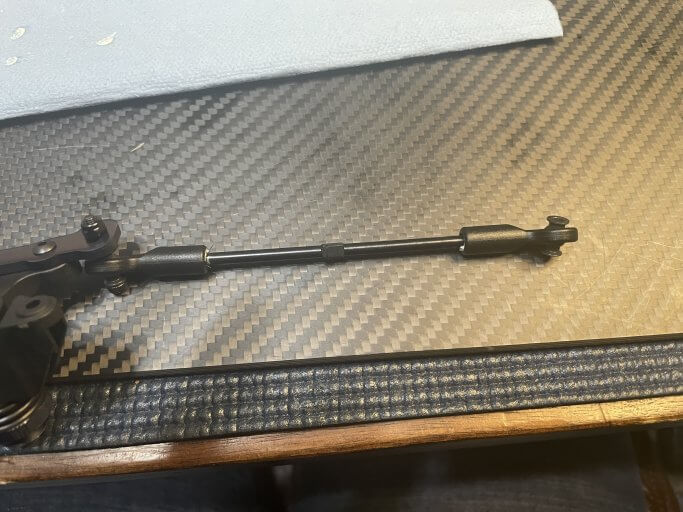
As with the other links I used a little bit of white grease on the steering links.