ET48 2.0 Build (Bag D-F)
Follow along as we give some insight on how to build the new ET48 2.0 kit with both photos and videos from Tyler Hooks. This article focuses on Bags D-F.
The ET48 2.0 kits are starting to ship so here is a little guide to building your own.
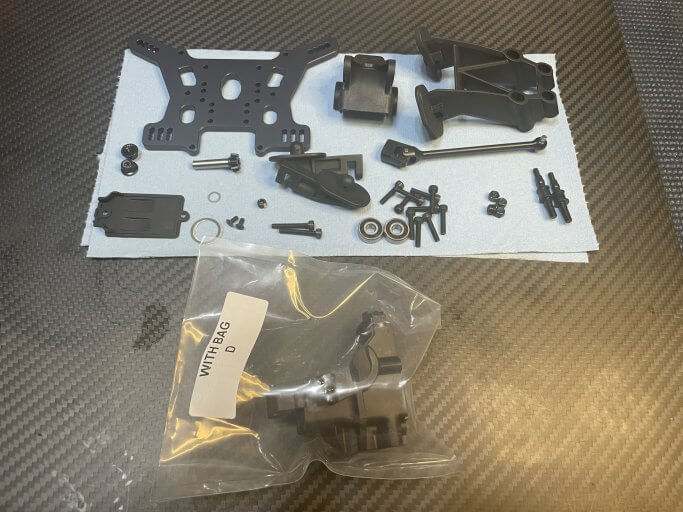
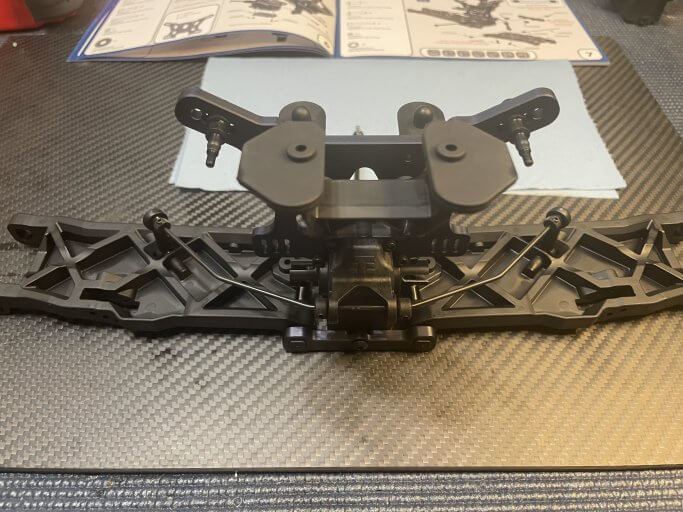
Bag D
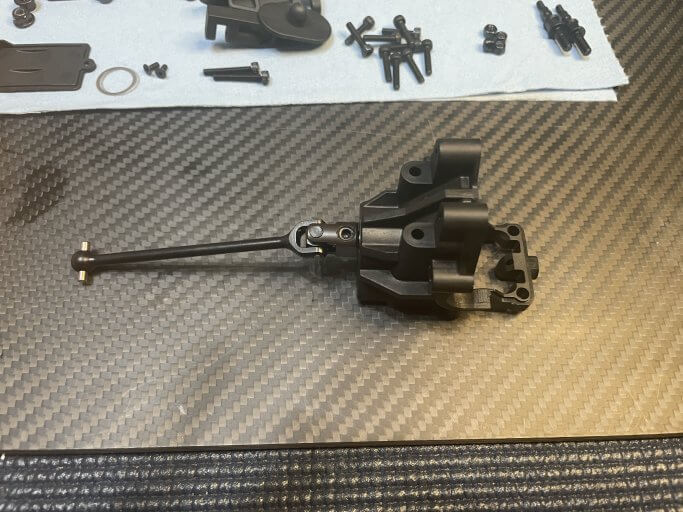
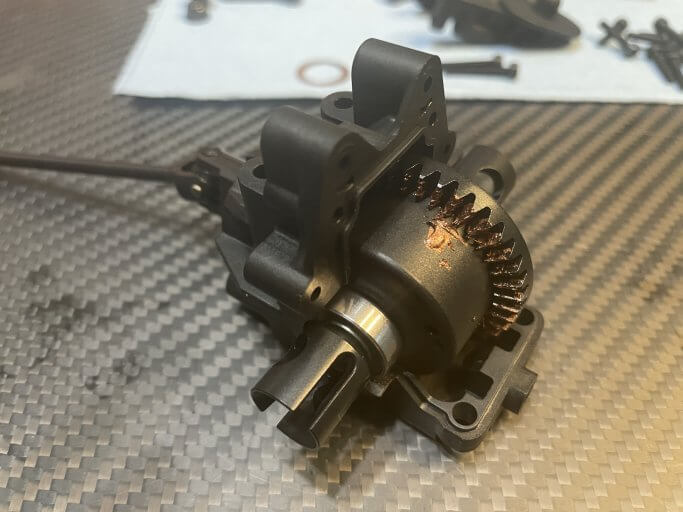
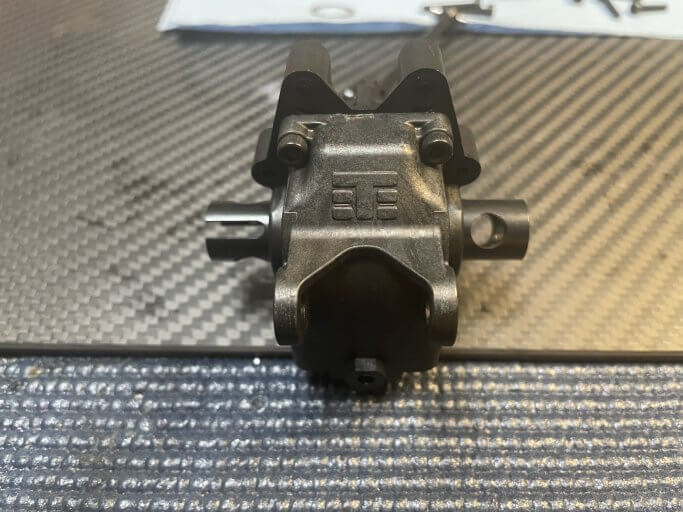
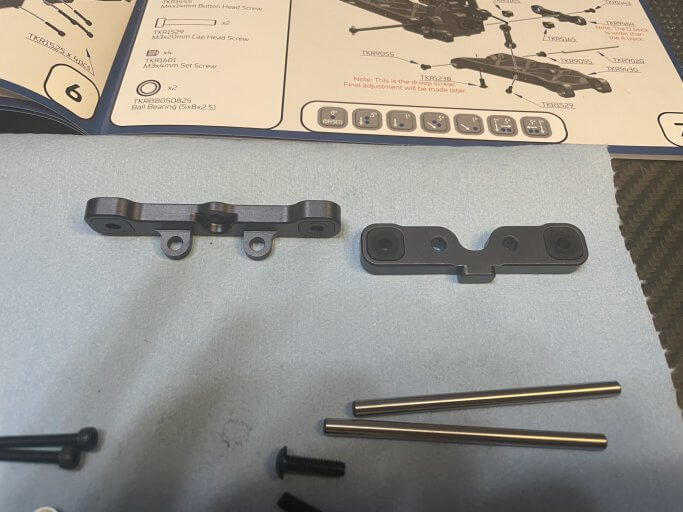
Bag D is the rear bulkhead build for the ET48 2.0. The kit comes with the tall wing mount, a new rear center universal, and ring and pinion.
![](https://blog.teknorc.com/wp-content/uploads/2021/04/IMG_1278-683x512.jpg)
![](https://blog.teknorc.com/wp-content/uploads/2021/04/IMG_1279-683x512.jpg)
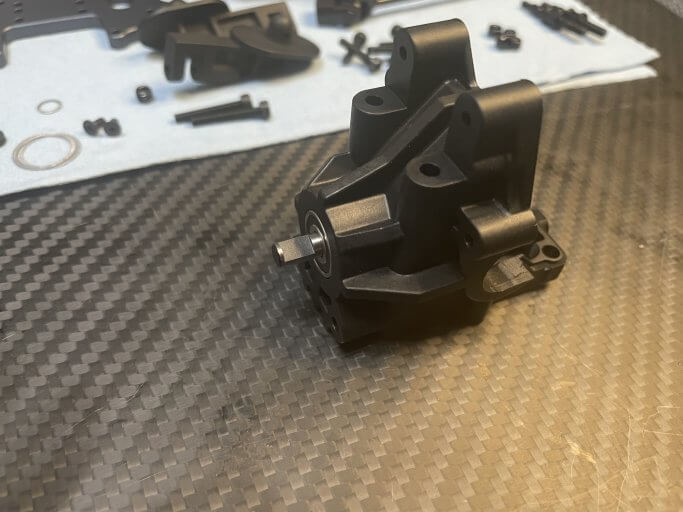
Clean the set screw and use loctite just like on Bag C.
![](https://blog.teknorc.com/wp-content/uploads/2021/04/IMG_1280-683x512.jpg)
Little bit of copper grease on the ring gear, didn’t have to use any shims in the rear.
![](https://blog.teknorc.com/wp-content/uploads/2021/04/IMG_1281-683x512.jpg)
![](https://blog.teknorc.com/wp-content/uploads/2021/04/IMG_1282-683x512.jpg)
![](https://blog.teknorc.com/wp-content/uploads/2021/04/IMG_1283-683x512.jpg)
![](https://blog.teknorc.com/wp-content/uploads/2021/04/IMG_1284-683x512.jpg)
![](https://blog.teknorc.com/wp-content/uploads/2021/04/IMG_1285-683x512.jpg)
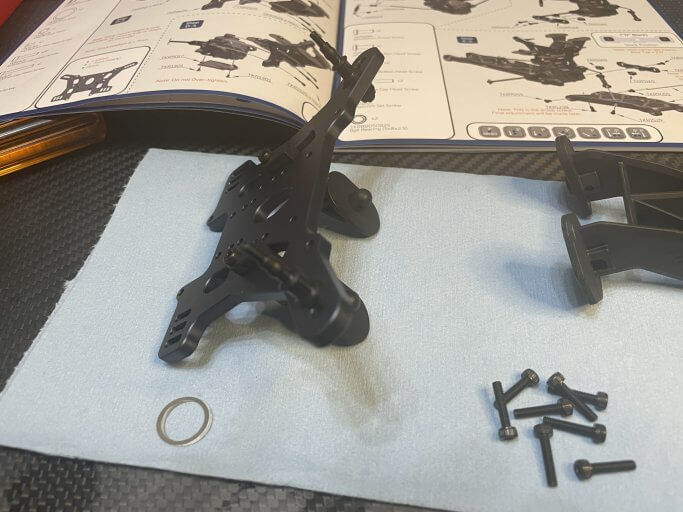
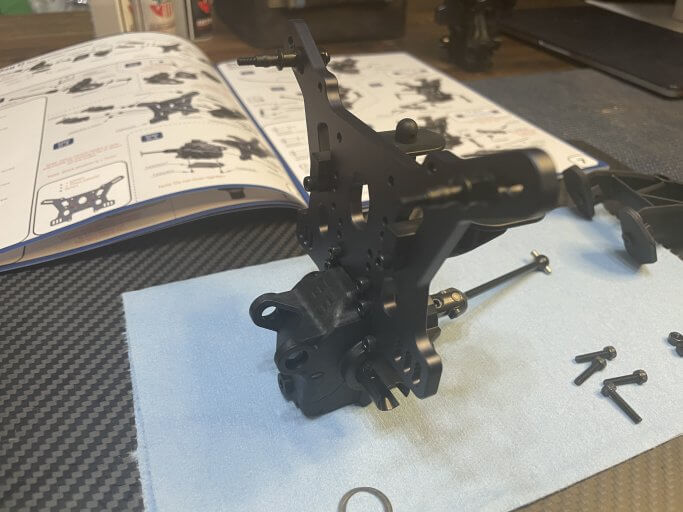
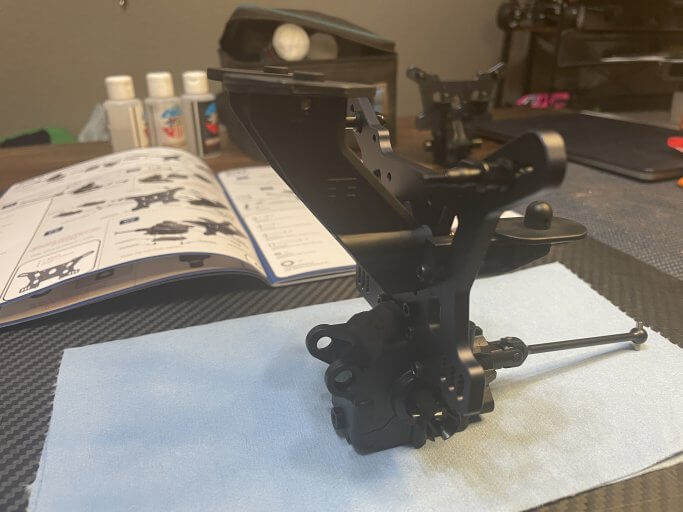
The rear shock tower allows you to put the wing in 3 different locations, I chose the tallest location.
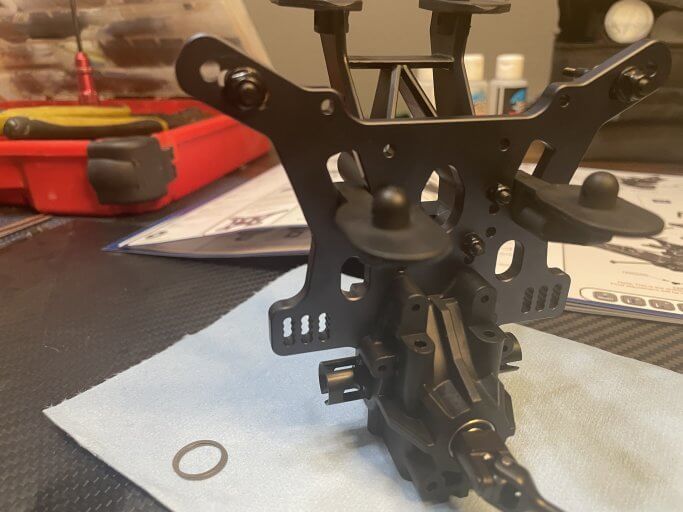
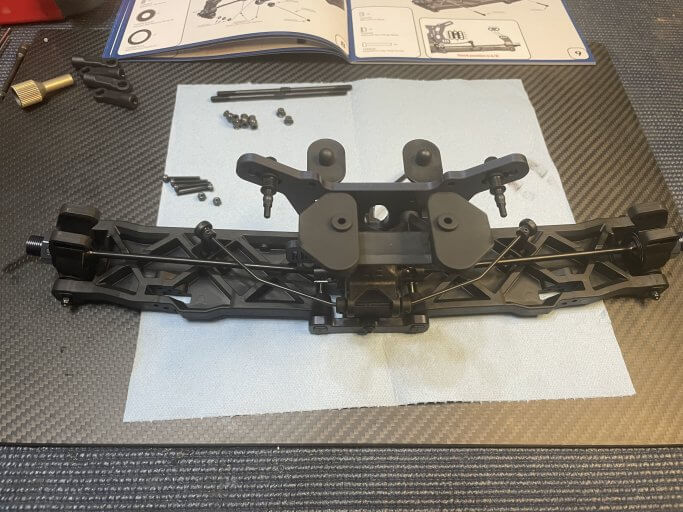
![](https://blog.teknorc.com/wp-content/uploads/2021/04/IMG_1286-683x512.jpg)
![](https://blog.teknorc.com/wp-content/uploads/2021/04/IMG_1287-683x512.jpg)
Bag E:
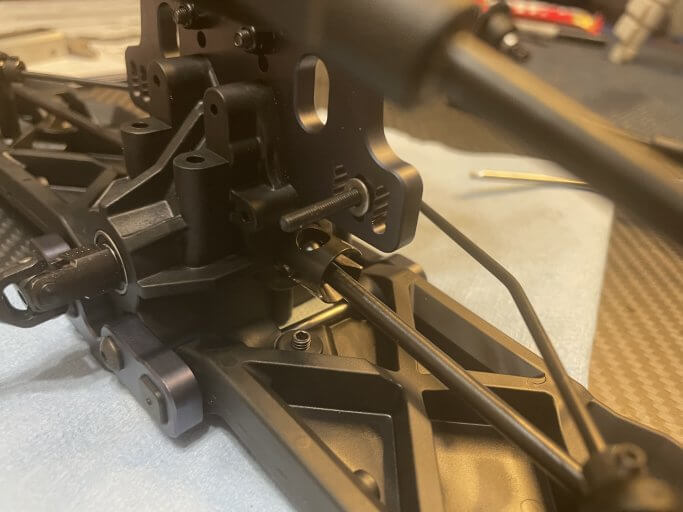
Time to install the arms on the rear of the ET48 2.0 as well as the sway bar setup.
![](https://blog.teknorc.com/wp-content/uploads/2021/04/IMG_1290-683x512.jpg)
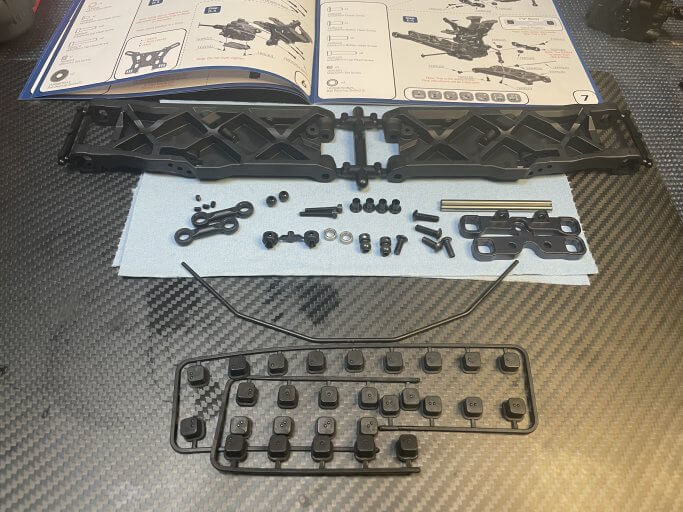
make sure to remove any flashing from the inserts so they sit flat.
![](https://blog.teknorc.com/wp-content/uploads/2021/04/IMG_1292-683x512.jpg)
![](https://blog.teknorc.com/wp-content/uploads/2021/04/IMG_1293-683x512.jpg)
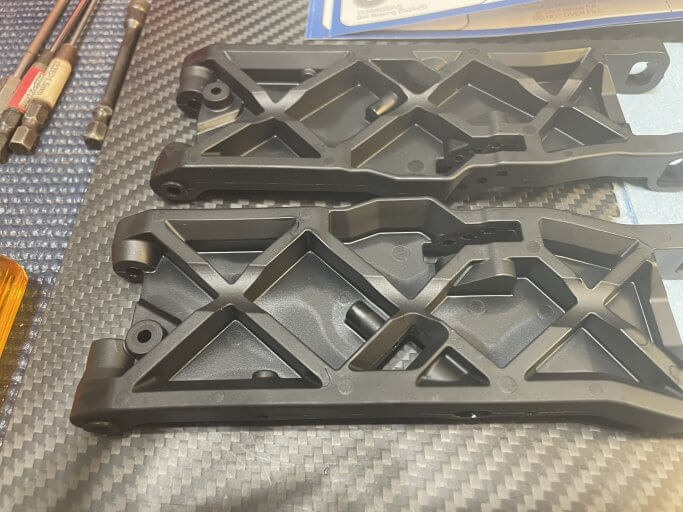
The arm inserts are so rad, the suspension is super free.
![](https://blog.teknorc.com/wp-content/uploads/2021/04/IMG_1294-683x512.jpg)
![](https://blog.teknorc.com/wp-content/uploads/2021/04/IMG_1295-683x512.jpg)
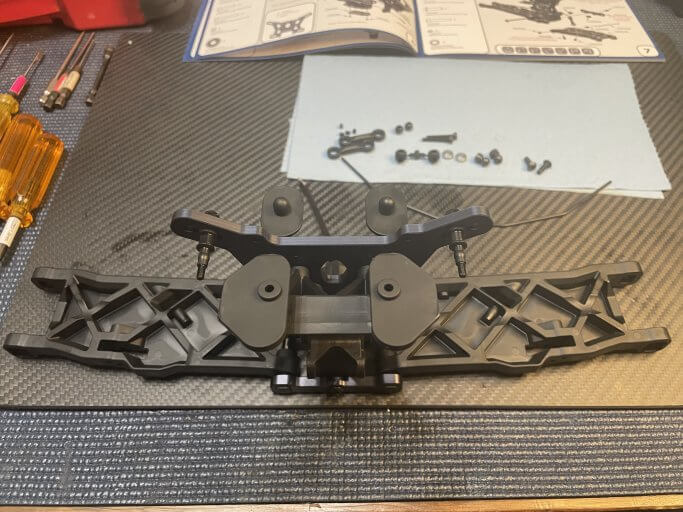
The sway bars are a little larger as you can see in the photos so they are specific for the truggy.
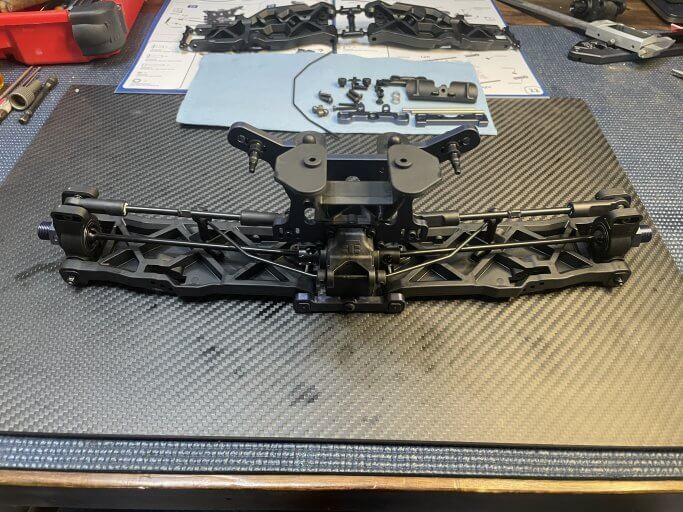
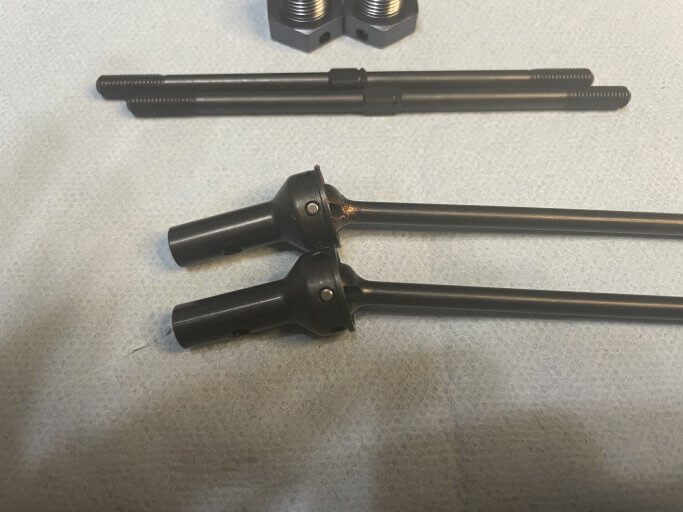
![](https://blog.teknorc.com/wp-content/uploads/2021/04/IMG_1296-683x512.jpg)
Bag F:
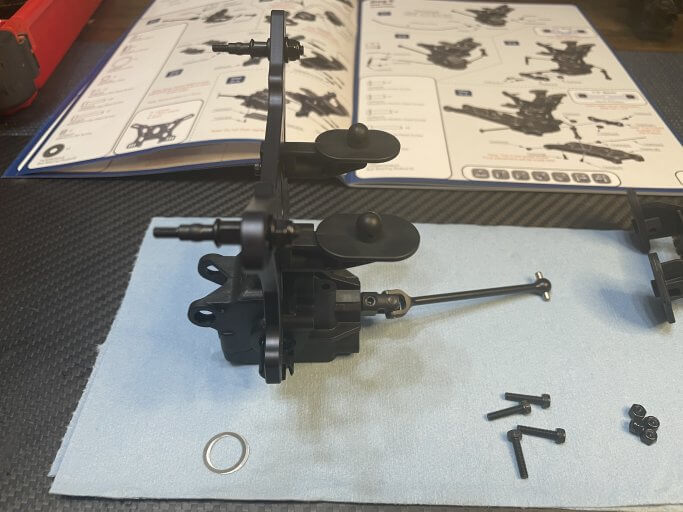
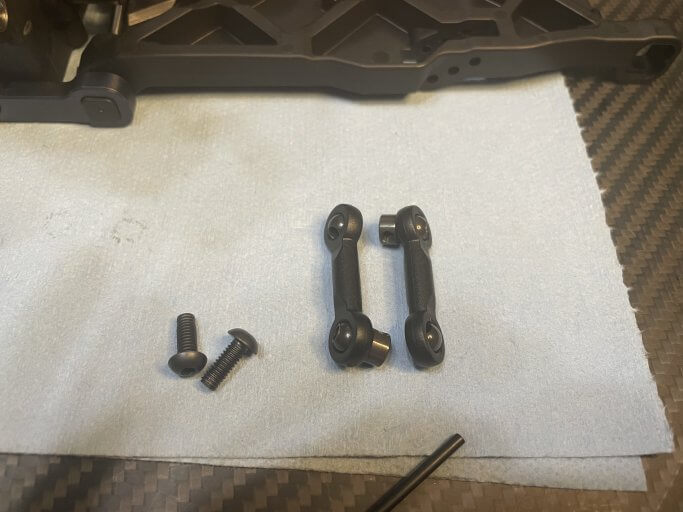
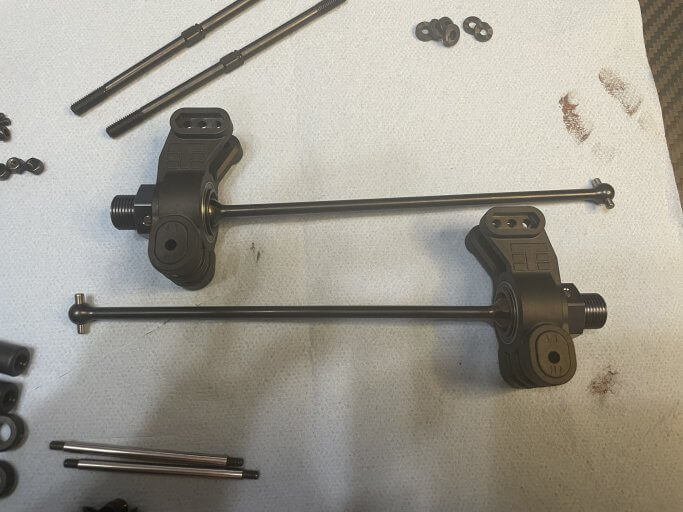
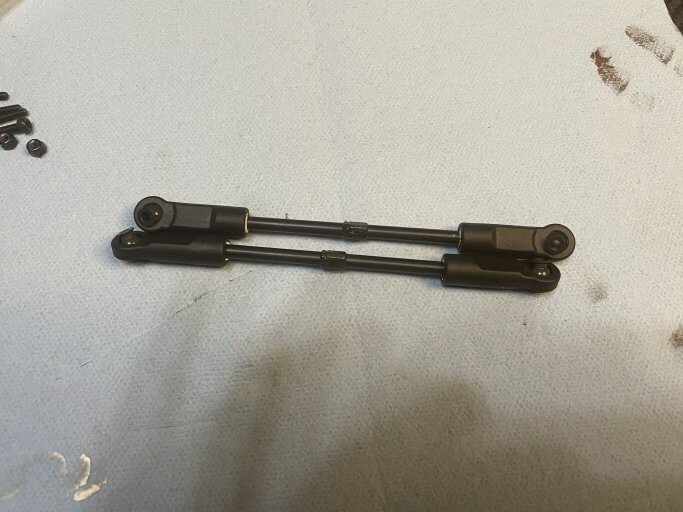
In bag F we finish the rear end completely with the CV’s, Hubs, and Turnbuckles.
![](https://blog.teknorc.com/wp-content/uploads/2021/04/IMG_1301-683x512.jpg)
On the buggies we typically run the hubs pretty low in the arms, on the truggy the hub is higher in the arms.
![](https://blog.teknorc.com/wp-content/uploads/2021/04/IMG_1302-683x512.jpg)
![](https://blog.teknorc.com/wp-content/uploads/2021/04/IMG_1304-683x512.jpg)
I use a white grease when I install the rod ends on the turnbuckles.
![](https://blog.teknorc.com/wp-content/uploads/2021/04/IMG_1305-683x512.jpg)
![](https://blog.teknorc.com/wp-content/uploads/2021/04/IMG_1306-683x512.jpg)
Complete rear end all ready to go!
![](https://blog.teknorc.com/wp-content/uploads/2021/04/IMG_1311-683x512.jpg)
![](https://blog.teknorc.com/wp-content/uploads/2021/04/IMG_1312-683x512.jpg)