ET48 2.0 Build (Bag A-C)
Follow along as we give some insight on how to build the new ET48 2.0 kit with both photos and videos from Tyler Hooks. This article focuses on Bags A-C.
The ET48 2.0 kits are starting to ship so here is a little guide to building your own.
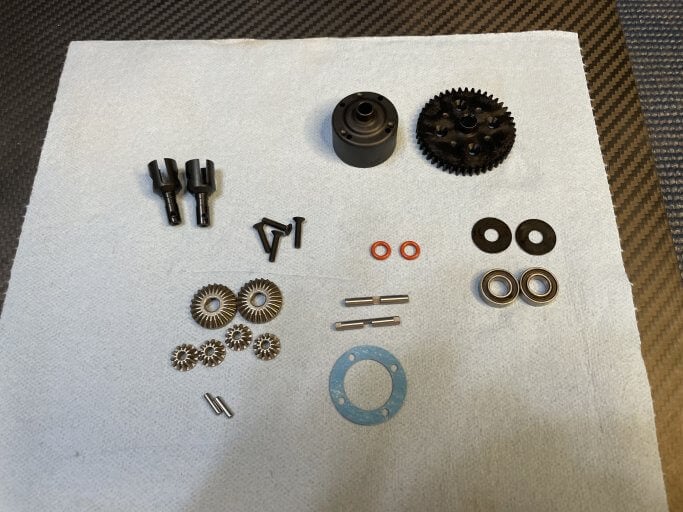
Bag A
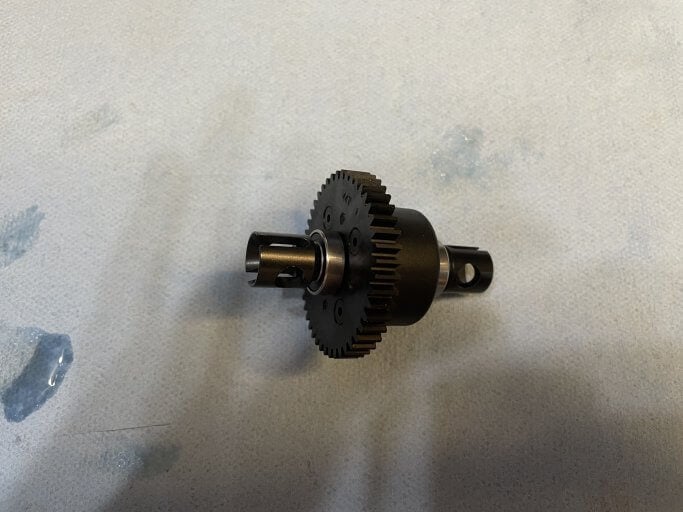
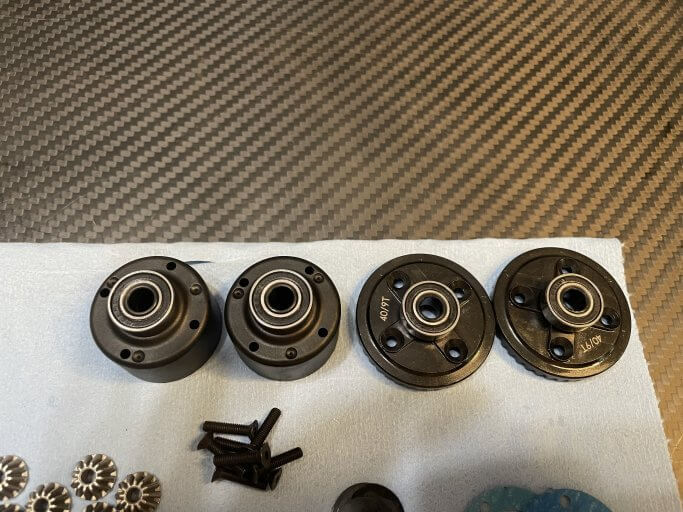
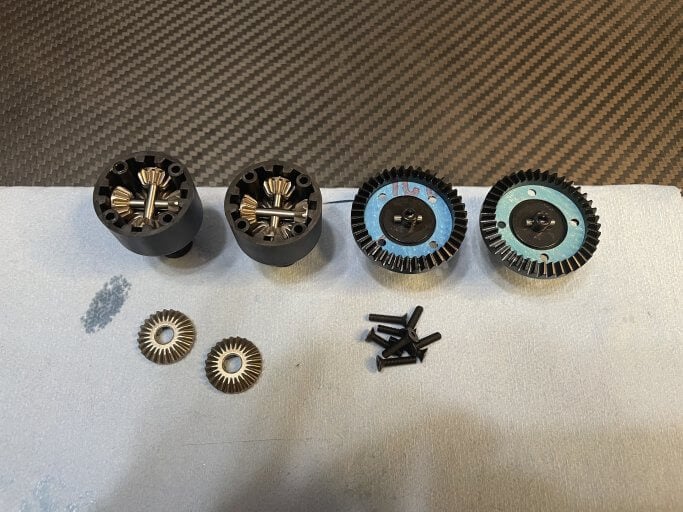
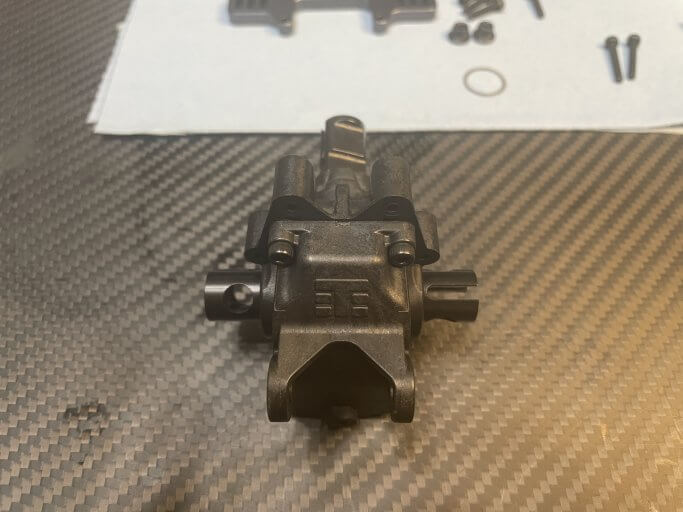
Alright everyone, time to build the center differential for the ET48 2.0. Larger capacity and greater consistency than the previous truck and super smooth out of the package.
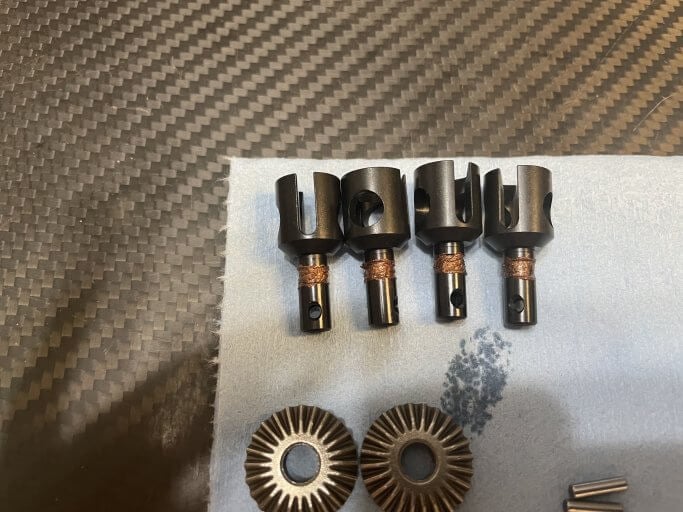
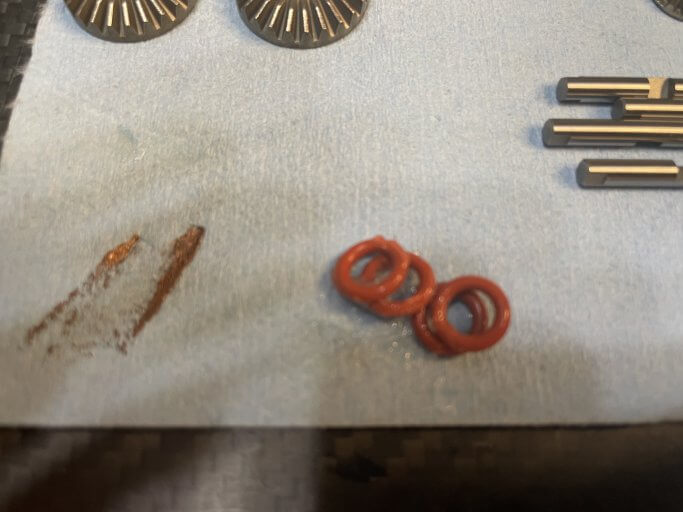
I use a little copper grease on the outdrives when I install them as well as some silicone o-ring grease on the o-rings.
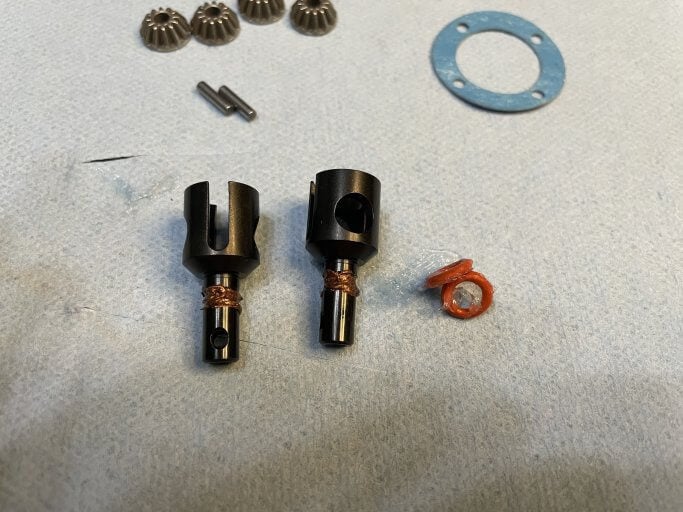
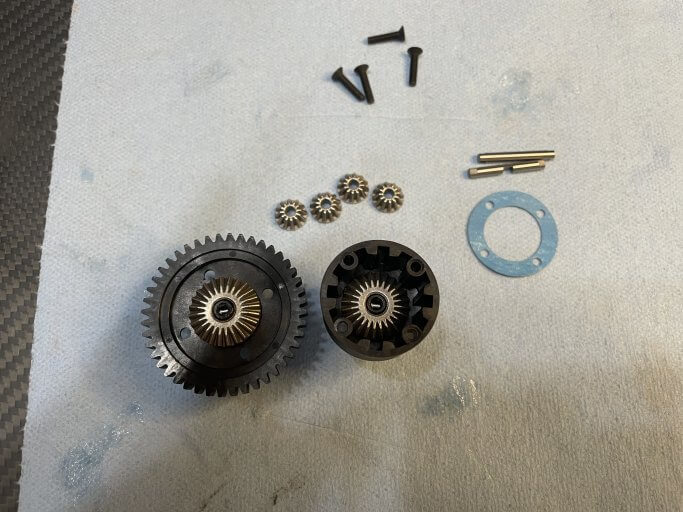
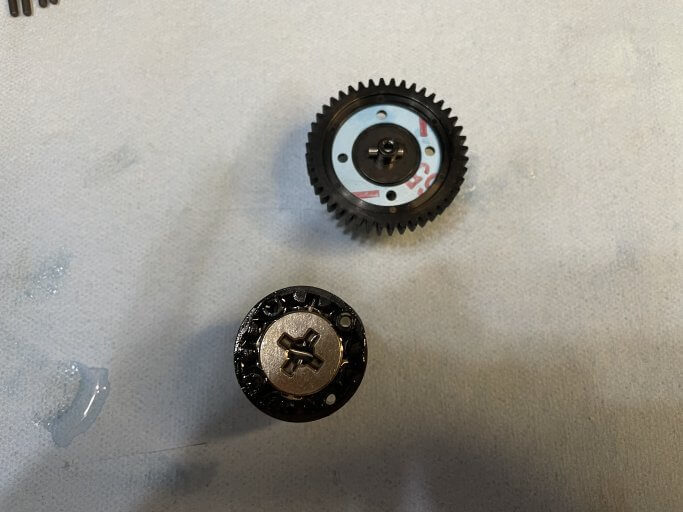
Go ahead and leave the top sun gear off to make it easier to get the fluid level correct and install.
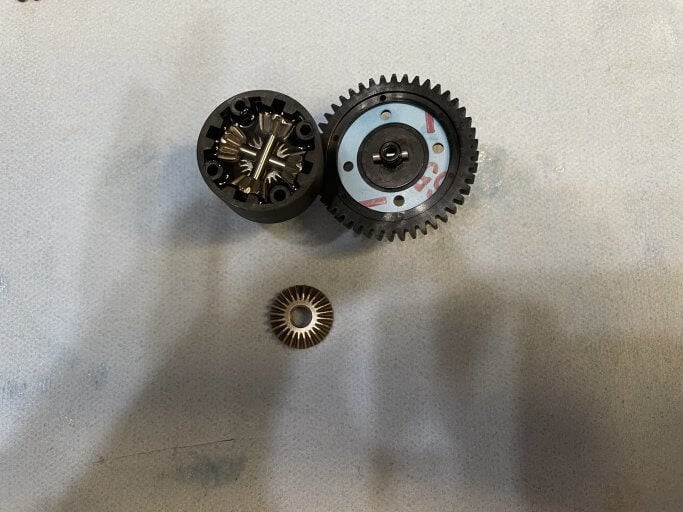
I want the fluid to be just at the top of the cup with the top sun gear installed. Fill it all the way up and wipe away the excess so the oil sits just across the top of the cup.
Bag B:
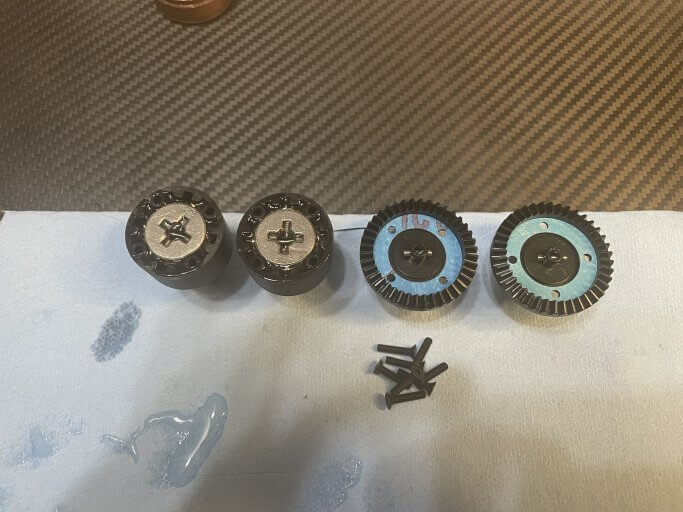
Let’s finish up the Front and Rear diffs in bag B. I enjoy getting them knocked out before moving on.
Copper grease on the outdrives just like before.
silicone O-Ring grease on the O-Rings.
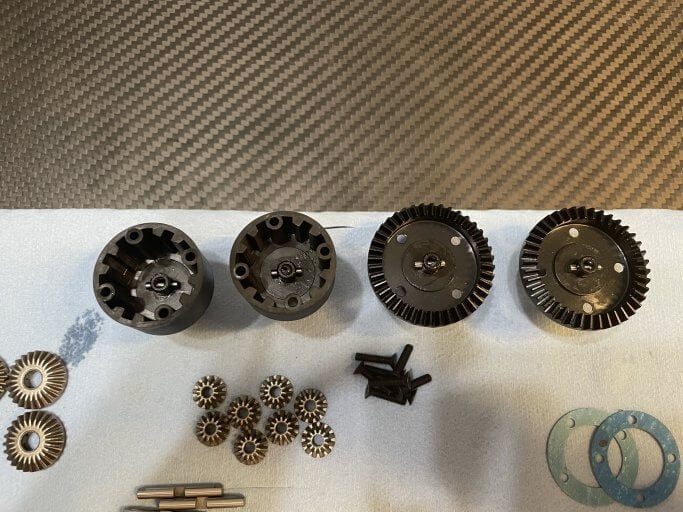
Fill the oil just to the top with the top sun gear installed just as before, makes it easier to insure you have enough oil used. Basically just fill it all the way up with the sun gear installed, and then wipe away the excess.
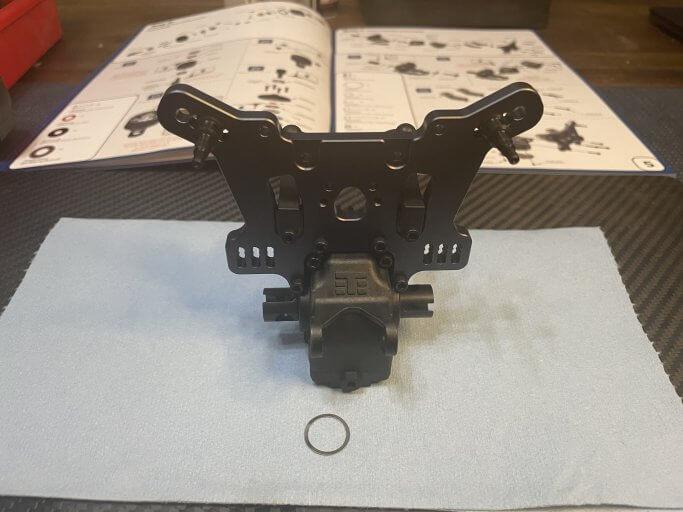
Bag C:
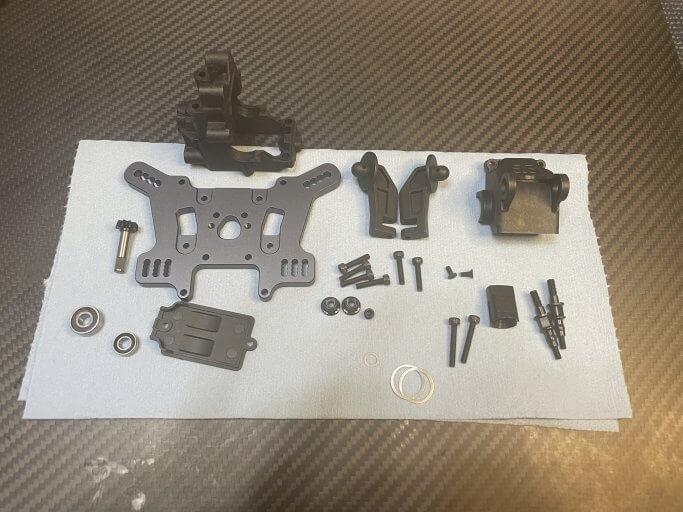
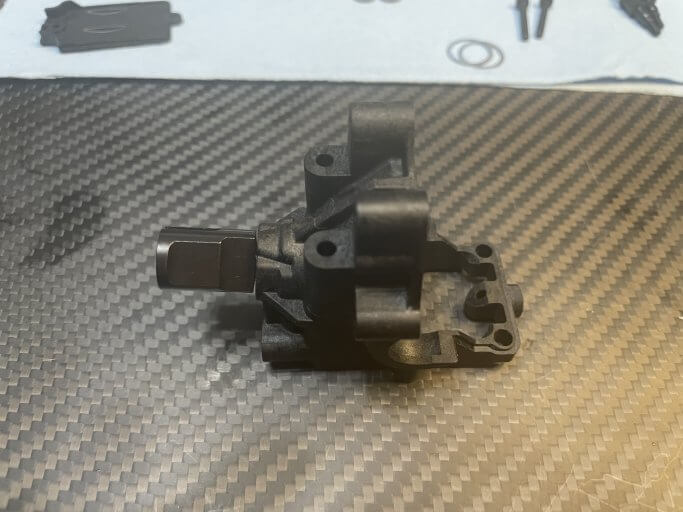
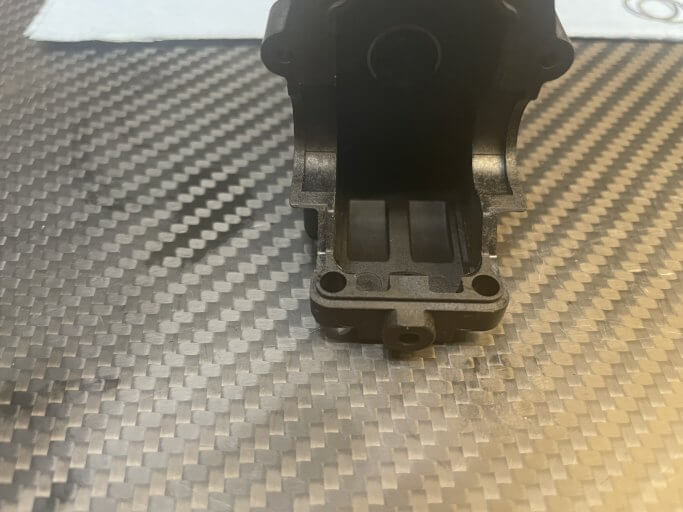
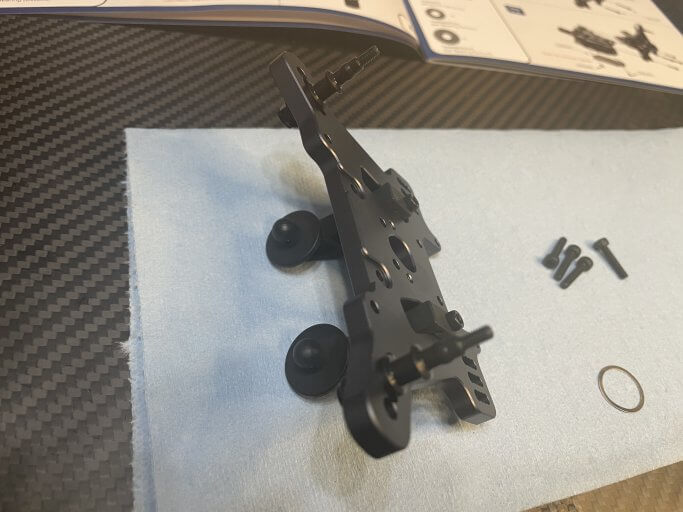
Bag C is the front bulkhead build which highlights the sweet new shock tower, and the new ring and pinion gears specifically for truggy.
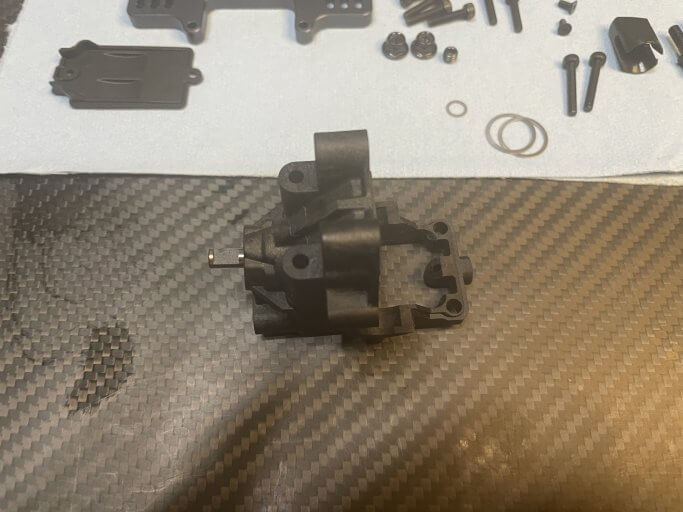
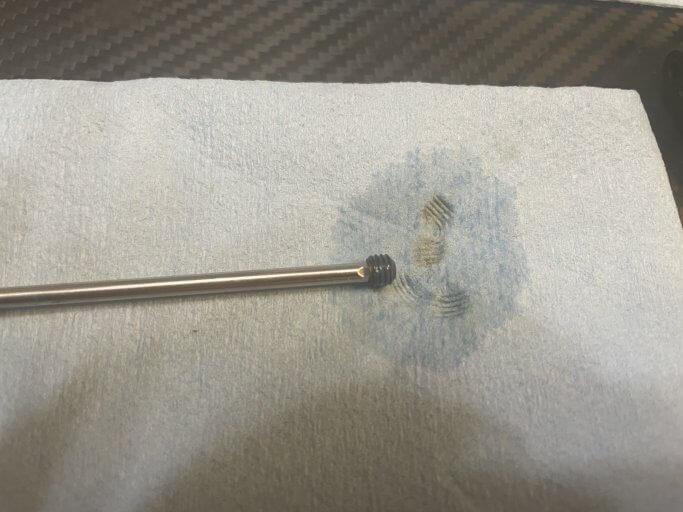
For something as important as the front center coupler, I used some break-clean to clean the set screw. Then I used some blue loctite on the set screw.
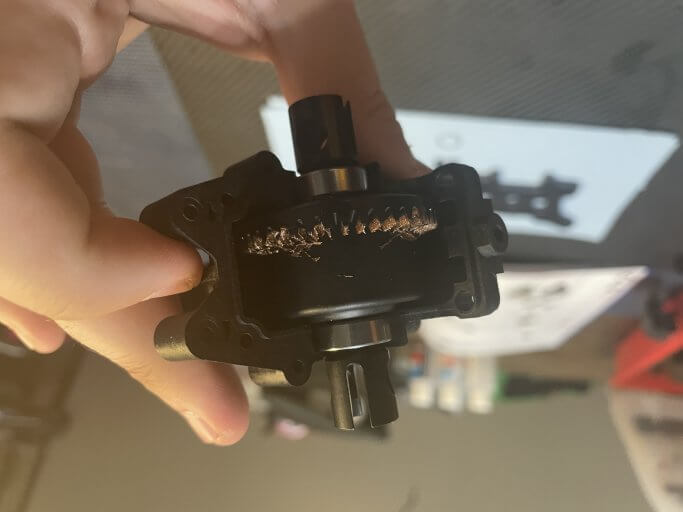
Used some more of the copper grease on the ring and pinion gears to make sure smooth operation. I also had to use one of the diff shims to make sure the the lash was correct. Keep those handy so you can make sure things fit smoothly.
The 4mm/5mm Tekno Turnbuckle Wrench fits in the shock standoffs and makes them easier to install.
As I said I used one shim, so I had one left over when bag C was finished.