Bag M
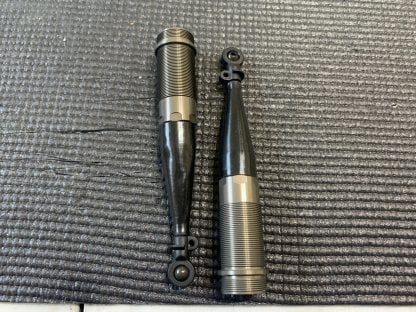
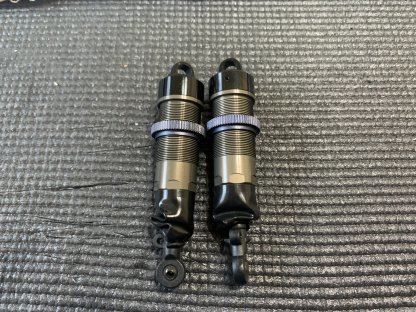
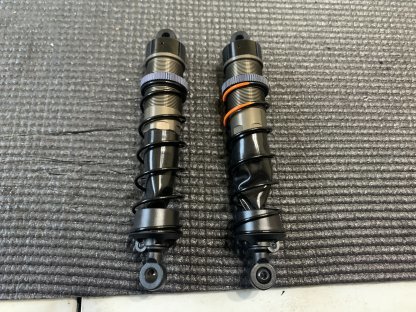
Bag M is the rear shocks with the only difference being the longer lower shock bushing for reduced up travel, the Orange spring, and 600 weight fluid.

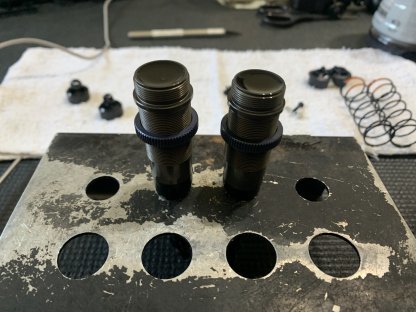
Screw the cap all the way on. Push the piston all the way to the top, screw on the bleeder screw. Pump the shock 10 times, then pull the piston all the way to the bottom and unscrew the bleeder screw. Push the piston all the way to the top and reinsert the bleeder screw.
Bag N:
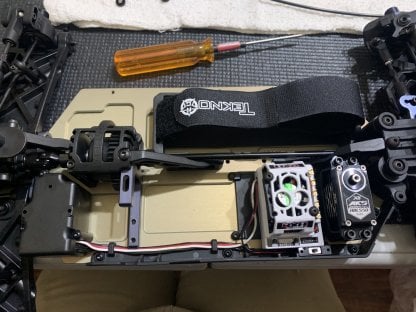
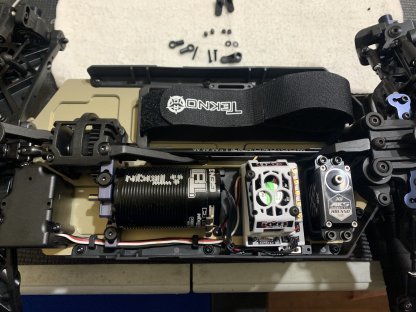
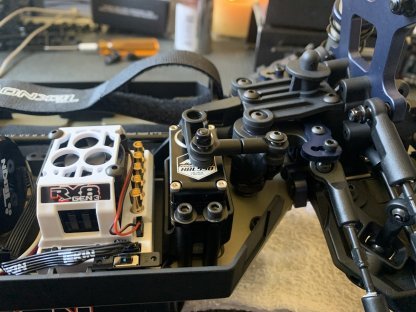
Time to install all the electronics in bag N. We have the servo and esc tray, the battery holders, and receiver tray as well as the rest of the motor mount. I didn’t wire my esc because I wasn’t sure which battery I am going to run. Also make sure to install your fan on your desired esc the correct direction so you don’t look dumb like I did when I took these photos.

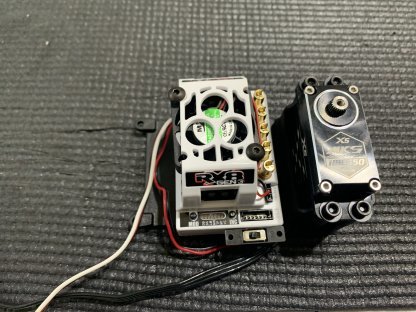
This ESC tray has lots more room for activities and larger escs.
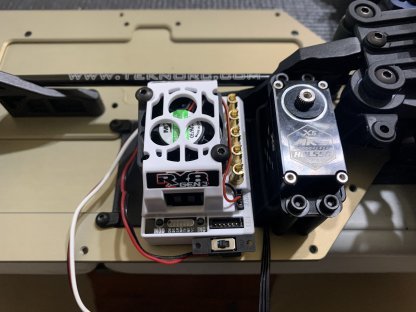
You can mount your transponder on top of the receiver tray but I don’t have any more holders and just prefer to have it in the receiver box. You can also run an antenna I just never do.
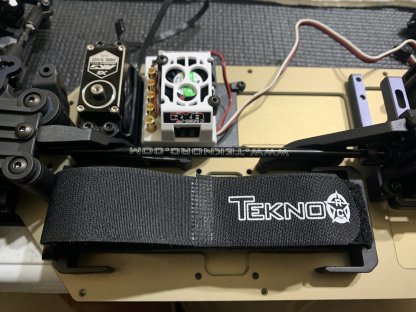
Make sure to pay attention to which way the battery strap installs so you don’t have to take it apart, there is a correct way as seen below and an incorrect way.
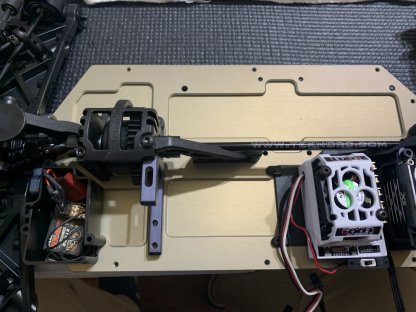
Try to make sure not to crimp your wires in the tunnels built into the side guard, it is important to use them to minimize shorts, but they need to be free or free enough inside the tunnels.
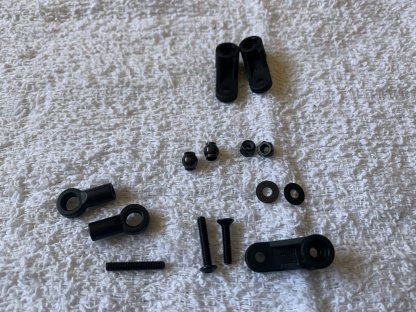
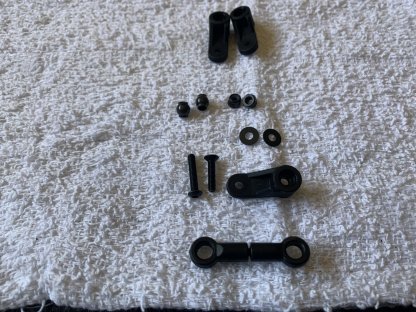
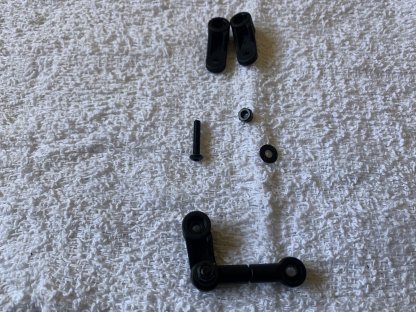
Bag O is the very simple steering linkage build, I highly recommend using the Tekno Aluminum Servo Horn which I will be using and make sure to include the 1mm gap between the tie rod ends for proper alignment.
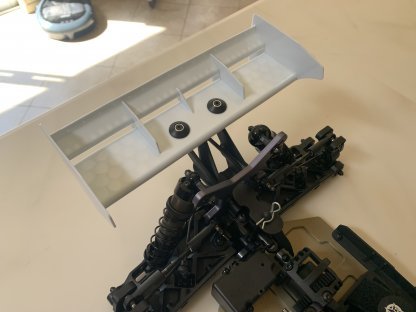
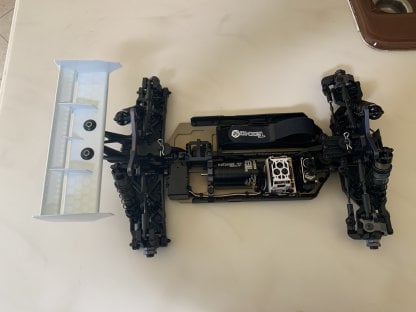
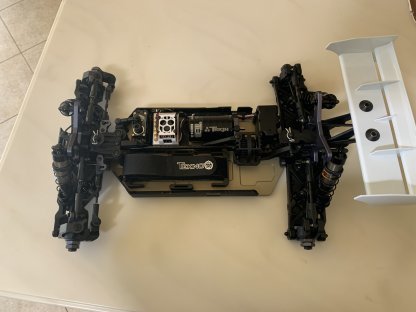
We are finished once bag P is done. Pretty much just installing the wing parts, the wheel nuts and the body clips. Thank you guys for following along and we will be sure to include some running video soon.