Bag J:
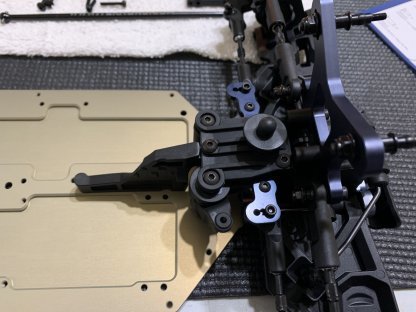
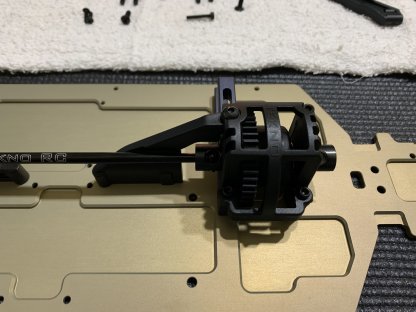
Bag J is the steering top plate and the rest of the parts to attach the steering rack to the front clip of the car. Not too much to this step just following the instructions.
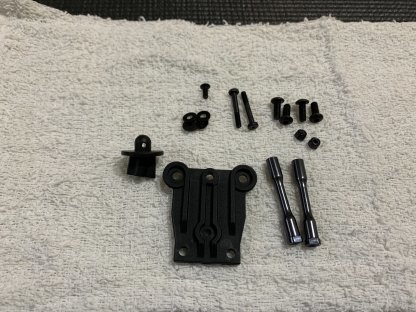
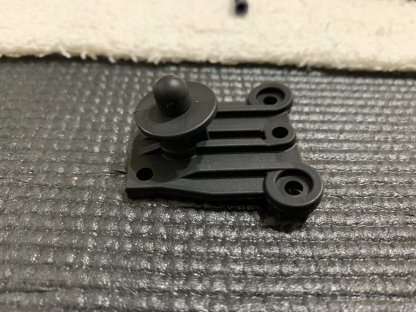
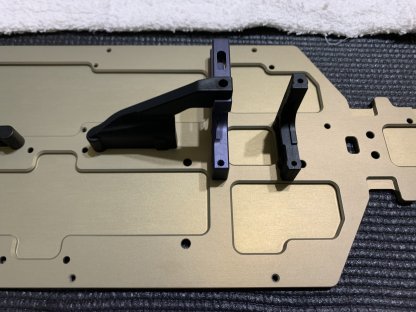
Make sure that the posts face the correct direction so that they will key into the chassis properly.
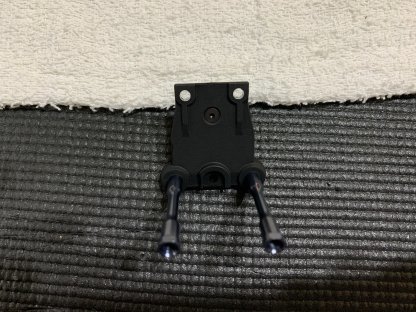
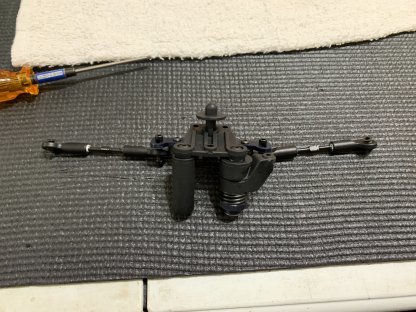
The other way to install this step is to combine it with bag K and to mount the steering posts to the chassis, then mount the front clip, then slide in the steering rack and install the top plate. Just another option to make things possibly easier to install. I have a hard time sometimes making sure the posts get keyed into the chassis so it’s nice to have options.
Bag K:
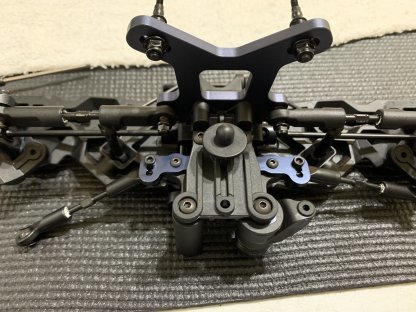
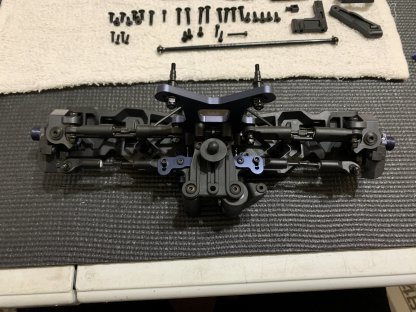
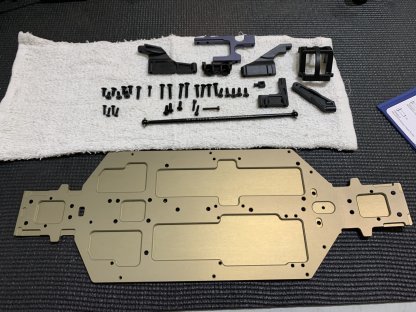
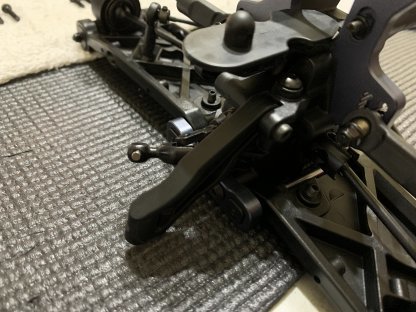
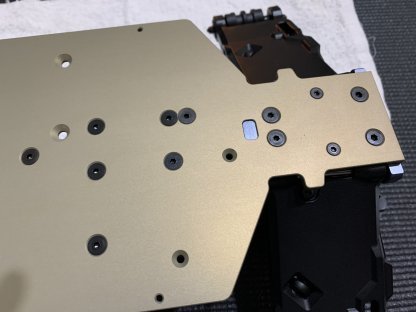
Bag K is where we attach everything we have built thus far to the chassis. We also get a look at the all new motor mount and center diff mount which is super robust and cool to work with. The chassis is also quite a bit different and much wider.
The two smaller screws that are installed into the diff cases on the chassis are a cool feature as they stop diff case warping and keep everything in line.

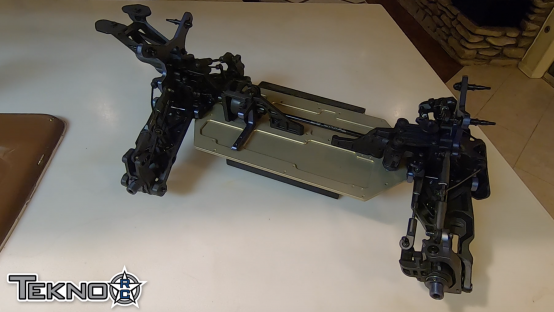
We will likely be taking off the center and rear chassis braces but I built the kit with them for manual purposes.
Oh man this thing looks good.
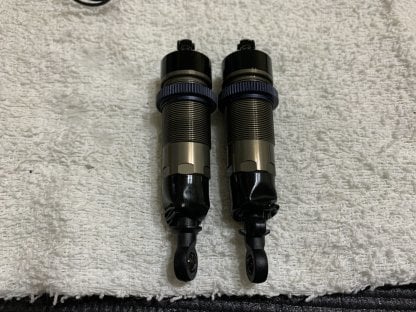
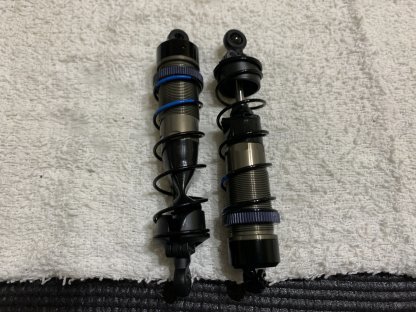
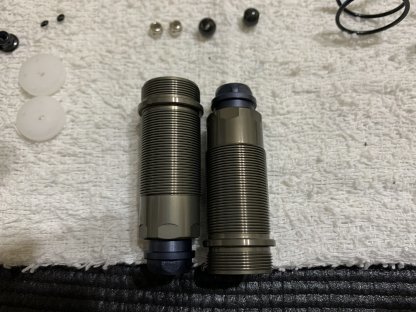
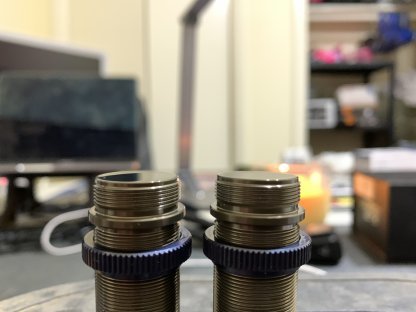
Bag L is the front shock build. I built this with the kit pistons and the kit 650 oil to start with. The front and rear shocks use the same shock bodies and shafts. The springs are also the same length which is pretty cool.

Make sure to put some oil on the shock o-rings before you install them.
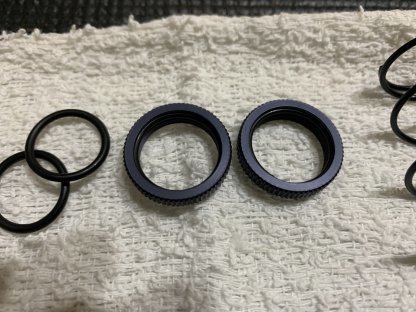
I put a little oil on the o-rings for the upper spring retainers to make them easier to turn.
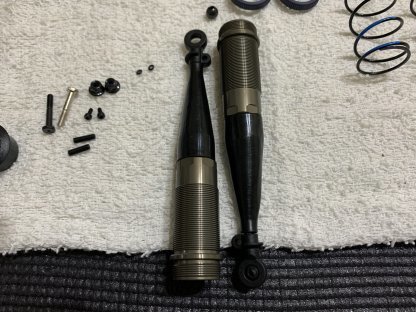
Put the shock boots on before the lower rod ends, don’t try to stretch them over.
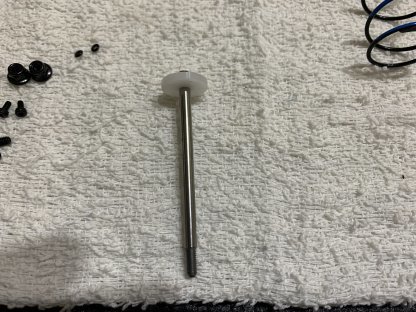
Screw the cap all the way on. Push the piston all the way to the top, screw on the bleeder screw. Pump the shock 10 times, then pull the piston all the way to the bottom and unscrew the bleeder screw. Push the piston all the way to the top and reinsert the bleeder screw.