Bag D:
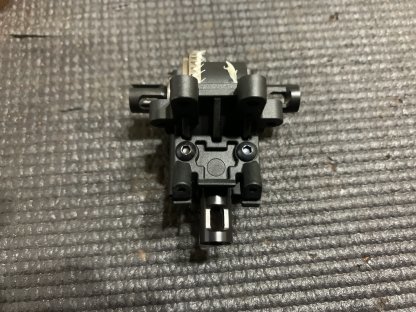
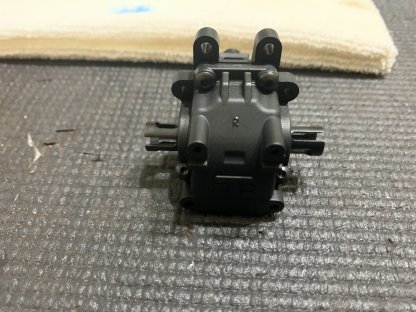
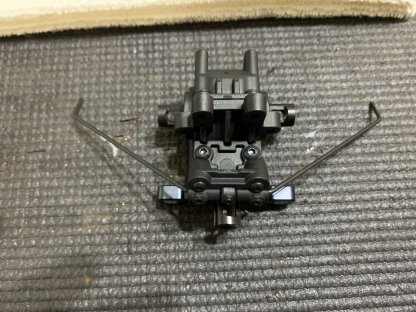
Bag D is the rear bulkhead with the only real change being the sway bar mount. The mount is now on the front of the bulkhead and is no longer the 3D-printed solution we were using on the original EB410.
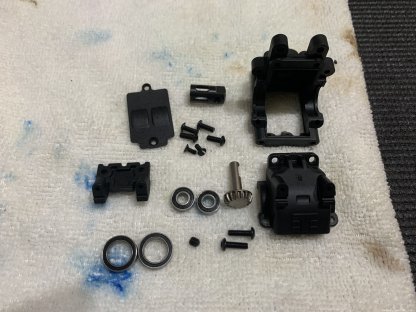
Make sure to use loctite on the diff coupler. 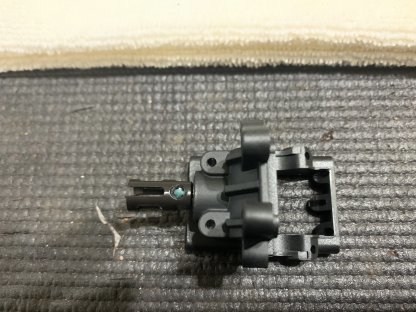
I also recommend as always to use some sort of gear grease on the ring gear.

If the diff doesn’t want to spin freely make sure you haven’t over tightened the outer case screws.

Bag E:
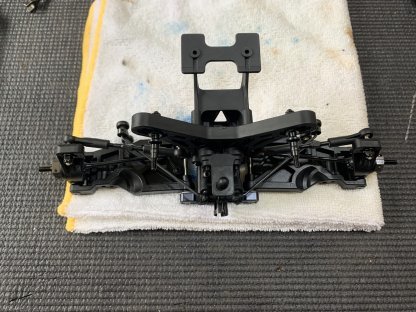
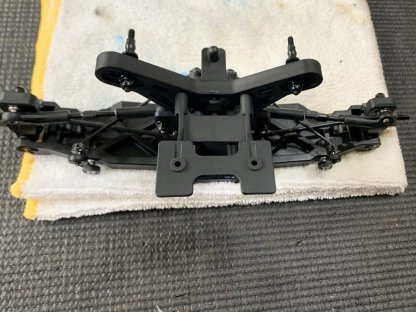
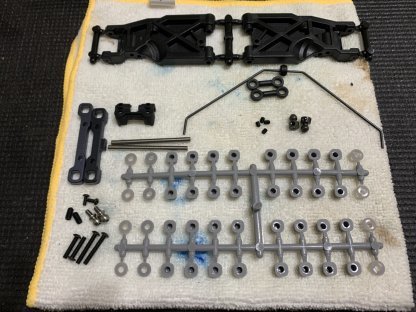
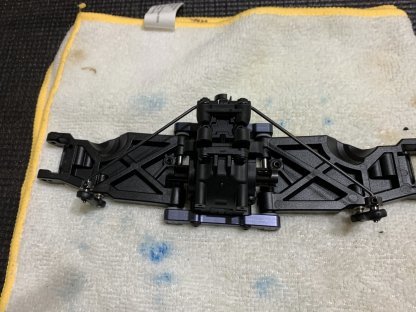
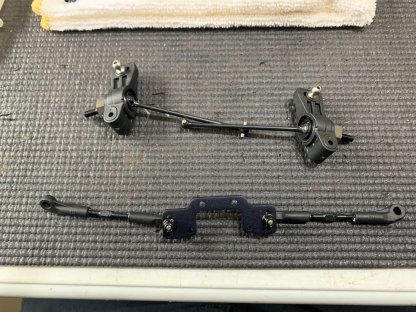
Bag E puts the new rear arms on the rear bulkhead. The arms are all new and use 3.5mm hinge pins. They also are made to mount the shocks on the front of the arm. The new inserts are grey and are meant to be used with the new hinge pins. The C and D blocks are also new and allow you to run up to 3 degrees of toe which is more than you could achieve on the original EB410. The sway bar is also now mounted backwards on the car to stay out of the way of the shocks.
The new rear sway bar mount insures that the bar and assembly is out of the way of the rear coupler and driveshaft.
The inner wheel base shims are also grey which I prefer. Makes it easier to tell where the shims are because they contrast with the black arms and bulkhead.
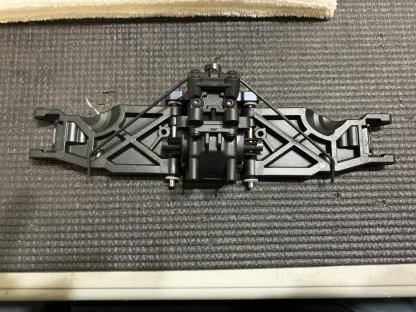
The C and D blocks are also thicker and more robust. You shouldn’t need to ream anything, these arms are much more free.
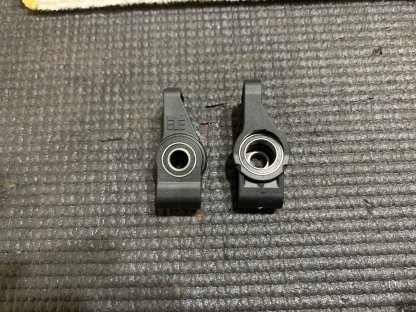
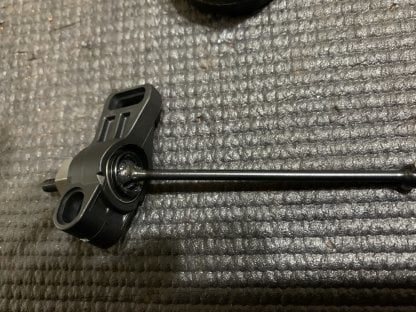
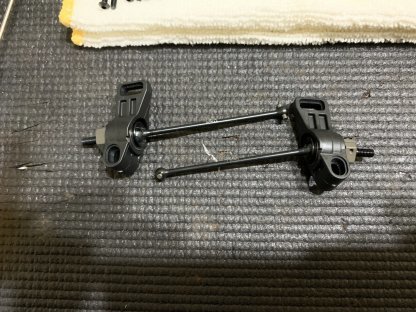
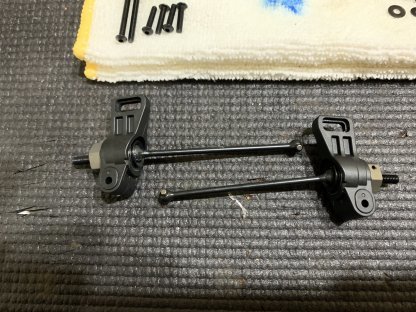
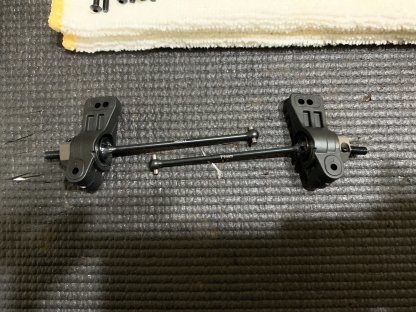
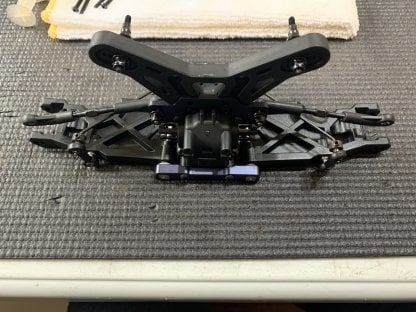
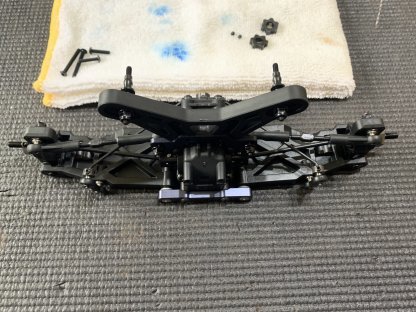
Lots of new stuff in Bag F for the EB410.2. First are the new rear hubs with vertical ball stud mounts and height adjustments. Then you have the new rear tower which allows for the use of a separate camber block. A one piece wing mount that is much stronger. New heavy duty drive shafts, and improved upper shock mounts.
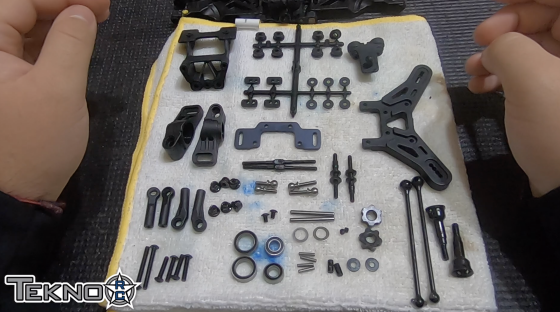
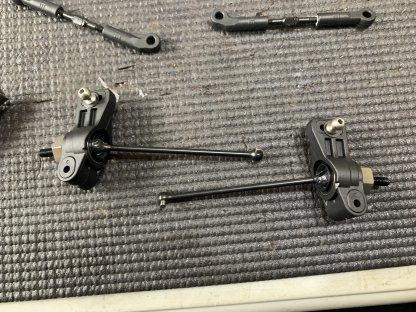
The new hubs allow for two different heights for the ball studs, and four different length locations. It also allows for three different diff heights at the lower hinge pin. In most cases we recommend running the hubs all the way high, but there are some situations where you will need to lower them.
I recommend using a bit of black grease or multi-purpose grease on the axle.
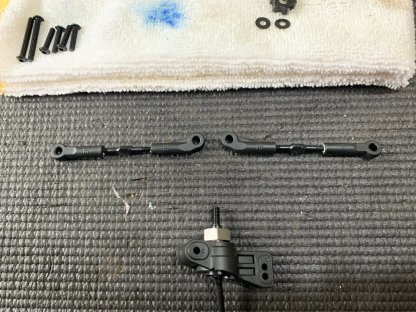
I deviated from the manual a bit here and decided to run a shorter link. I am running on a really low bite surface, but for most other situations I recommend running the stock location.
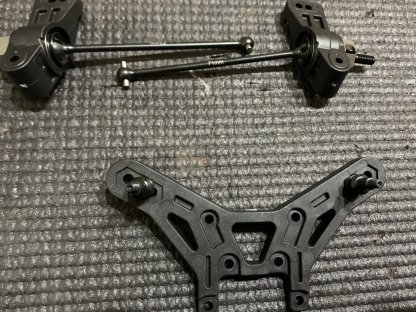
The new shock towers and stand-offs are made to mount the shocks on the front of the tower and are shaped slightly differently.
The angled rod-end makes for better wheel clearance when running longer link positions on the hub.
The stand alone camber plate allows for more vertical options similar to the new 1/8th scale platform.
With the links mounted on the back side of the hub and front side of the camber block you don’t have to worry about clearance issues with the springs.
The new one piece wing mount can’t flex or twist in the same way that the original one could so the wing will stay more centered. It also comes with riser options that mimic what we were doing with the original EB410 by gluing the original wing risers together.